PowerPress Theme Documentation
Introduction
Thank you for purchasing PowerPress. Before you get started, please be sure to always check out these documentation files. We outline all kinds of good information, and provide you with all the details you need know to use PowerPress Theme.
If you are unable to find your answer here in the documentation, please contact us on our support desk.
What is included in the price?
- PowerPress WordPress Theme
- 1 Year Free Updates
- Theme Documentation
- Premium Support - To our support desk.
Thanks!
Ommune Team
Theme Installation via WordPress
After the purchase you will be able to download the theme .zip file.
When done, you should see powerpress.zip (zip file name can be changed from version to version).
Please, follow the steps below to install PowerPress Theme.
Step 1 - Login to your WordPress Dashboard.
Step 2 - Go to Appearance > Themes. Click Add new button, located at the top of the screen or Add new theme. (see screenshots below)

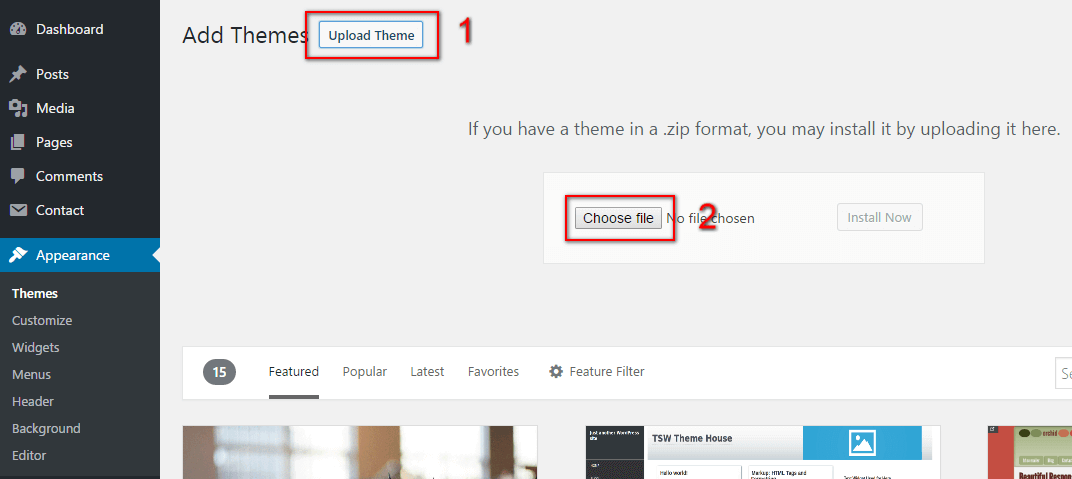
Step 3 - Click on Upload button at the top of the screen.
Step 4 - Choose powerpress.zip and click on the Install Now button.
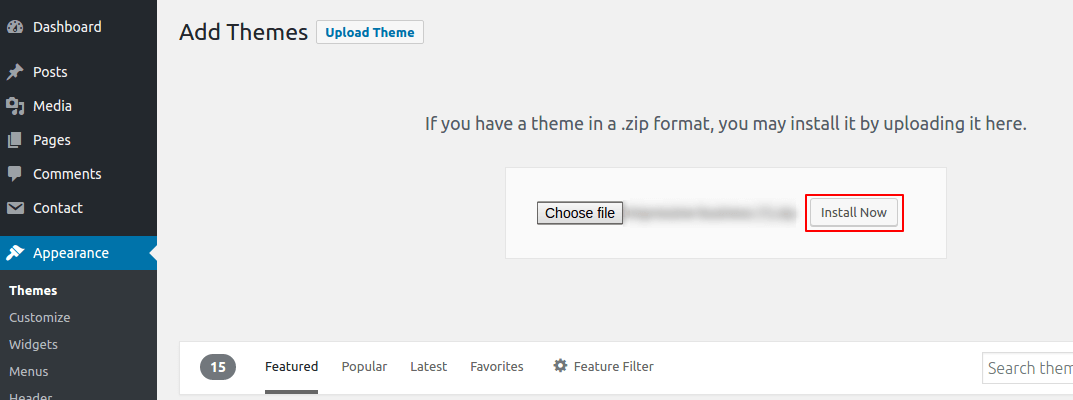
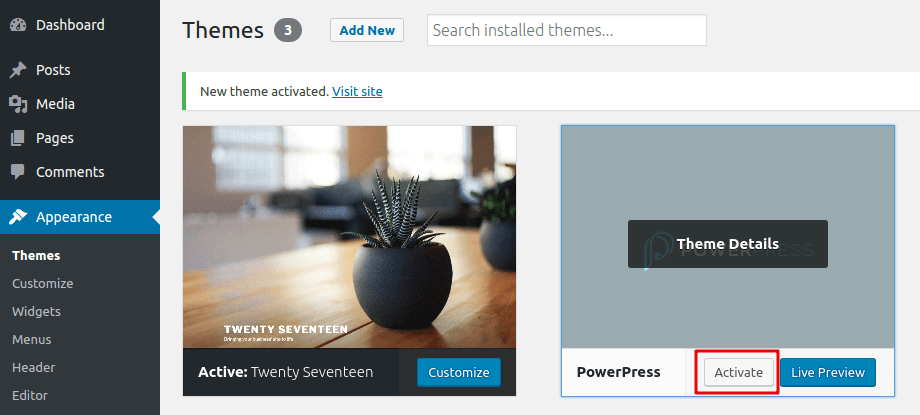
Step 5 - Wait while the theme is installed, when done Activate the PowerPress theme.
(see screenshots below)
Step 6 - Congratulation you are ready to use PowerPress, but first Activate your license key.
Common Theme Installation Problems
“Are you sure you want to do this?”
If you get the “Are you sure you want to do this” message when installing powerpress.zip file via WordPress, it means you have an upload file size limit. Install the theme via FTP if this happens, or ask your hosting company to increase the limit.
Missing stylesheet file
If you get an error saying that the stylesheet is missing, then you have uploaded the wrong folder. Please check that you are uploading the powerpress.zip within the Theme Files folder.
Theme Installation via FTP
If you are going to install the theme using FTP, you will need an FTP Client, such as FileZilla.
After the purchase you will be able to download the theme .zip file.
When done, you should see powerpress.zip (folder name can be changed from version to version).
Please, follow the steps below to install PowerPress theme via FTP:
Step 1 - Log into your hosting space (server) via FTP client.
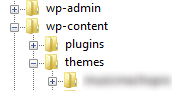
Step 2 - In extracted archive folder, find powerpress folder
Step 3 - Upload the powerpress folder to your server in path .../wp-content/themes/
Step 4 - The uploaded path should be like this: .../wp-content/themes/powerpress/
Step 5 - Login to your WordPress Dashboard and go to Appearance > Themes and activate the PowerPress Theme. (see screenshots below)
Step 6 - Congratulation you are ready to use PowerPress, but first Activate your license key.
Additional Links
Theme License Activation
After installing the theme the first step to take will be activating the theme license. Enter the license key and you'll get access to PowerPress Demo Data option. Using which, you can import the demos as seen on the sales page.
Follow the below instruction to activate the theme license.
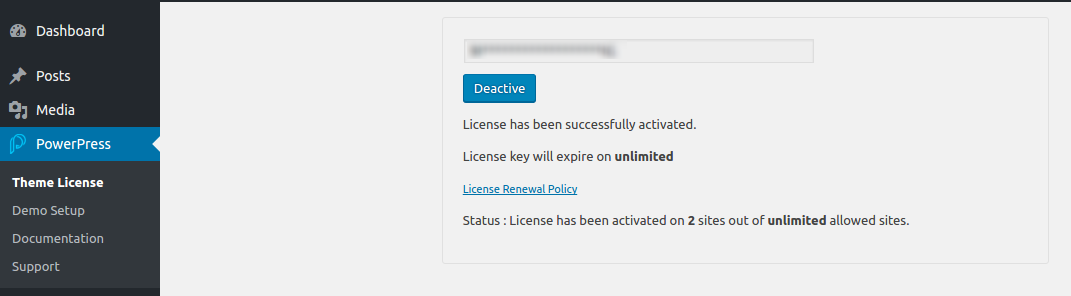
Step 1 - Go to your WordPress Dashboard > PowerPress > License.
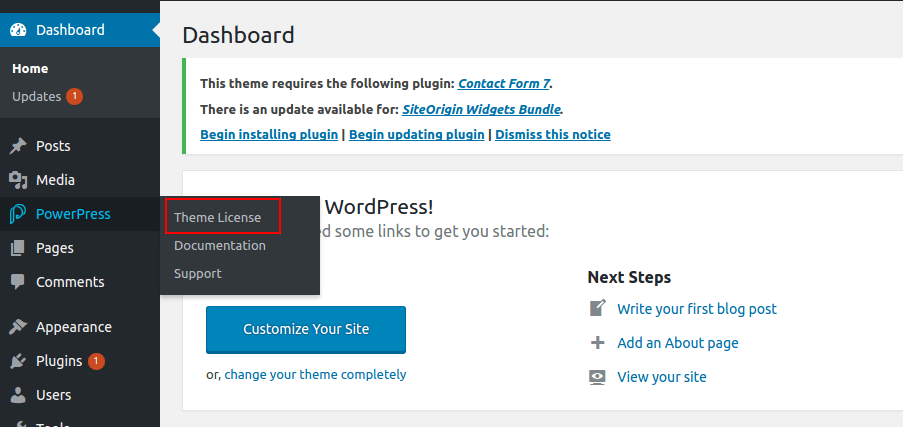
Step 2 - Now, you need to enter the license key. (see screenshots below)

Step 3 - The final step is to click on Activate button.
Plugins Installation
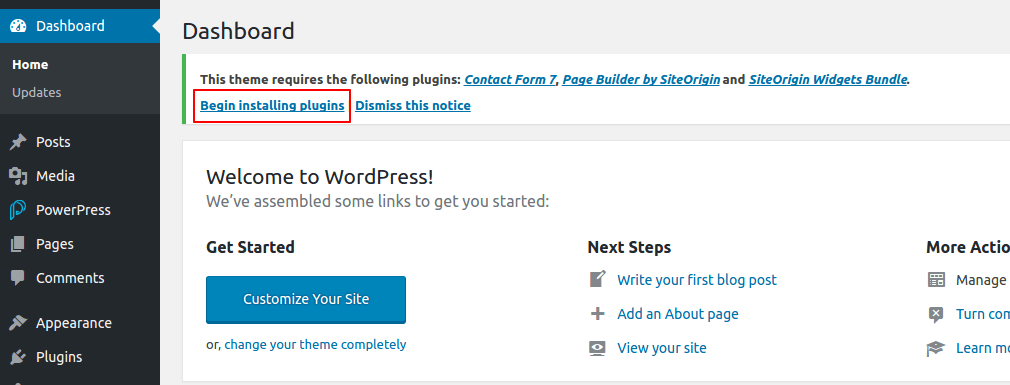
After activating the theme and the license a notice should appear on the top of the screen, click on Begin installing plugins.
Follow the below instruction to activate all the necessary plugins.
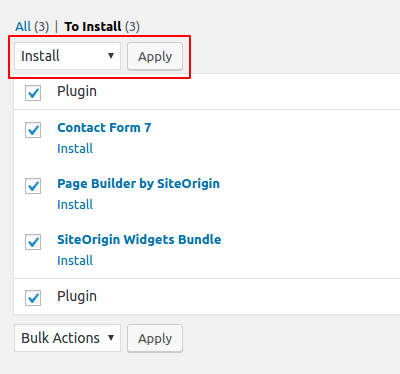
Step 1 - Go to your WordPress Dashboard and click on Begin installing plugins.
Step 2 - Select all the plugin, change Bulk Actions drop to Install then click Apply. (see screenshots below)
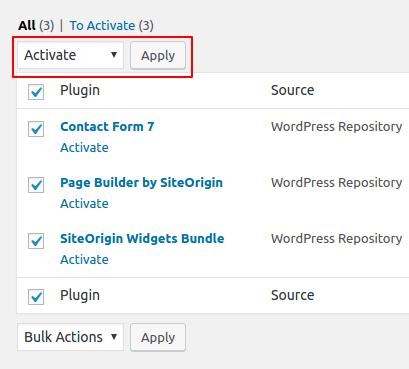
Step 3 - Once the plugins are installed go back to Install required plugins and Activate them all.
Setting up the Demo Content
Before importing the dummy data Make sure you have installed all the required plugins.
Once the theme will be activated you will see the option for importing demo.
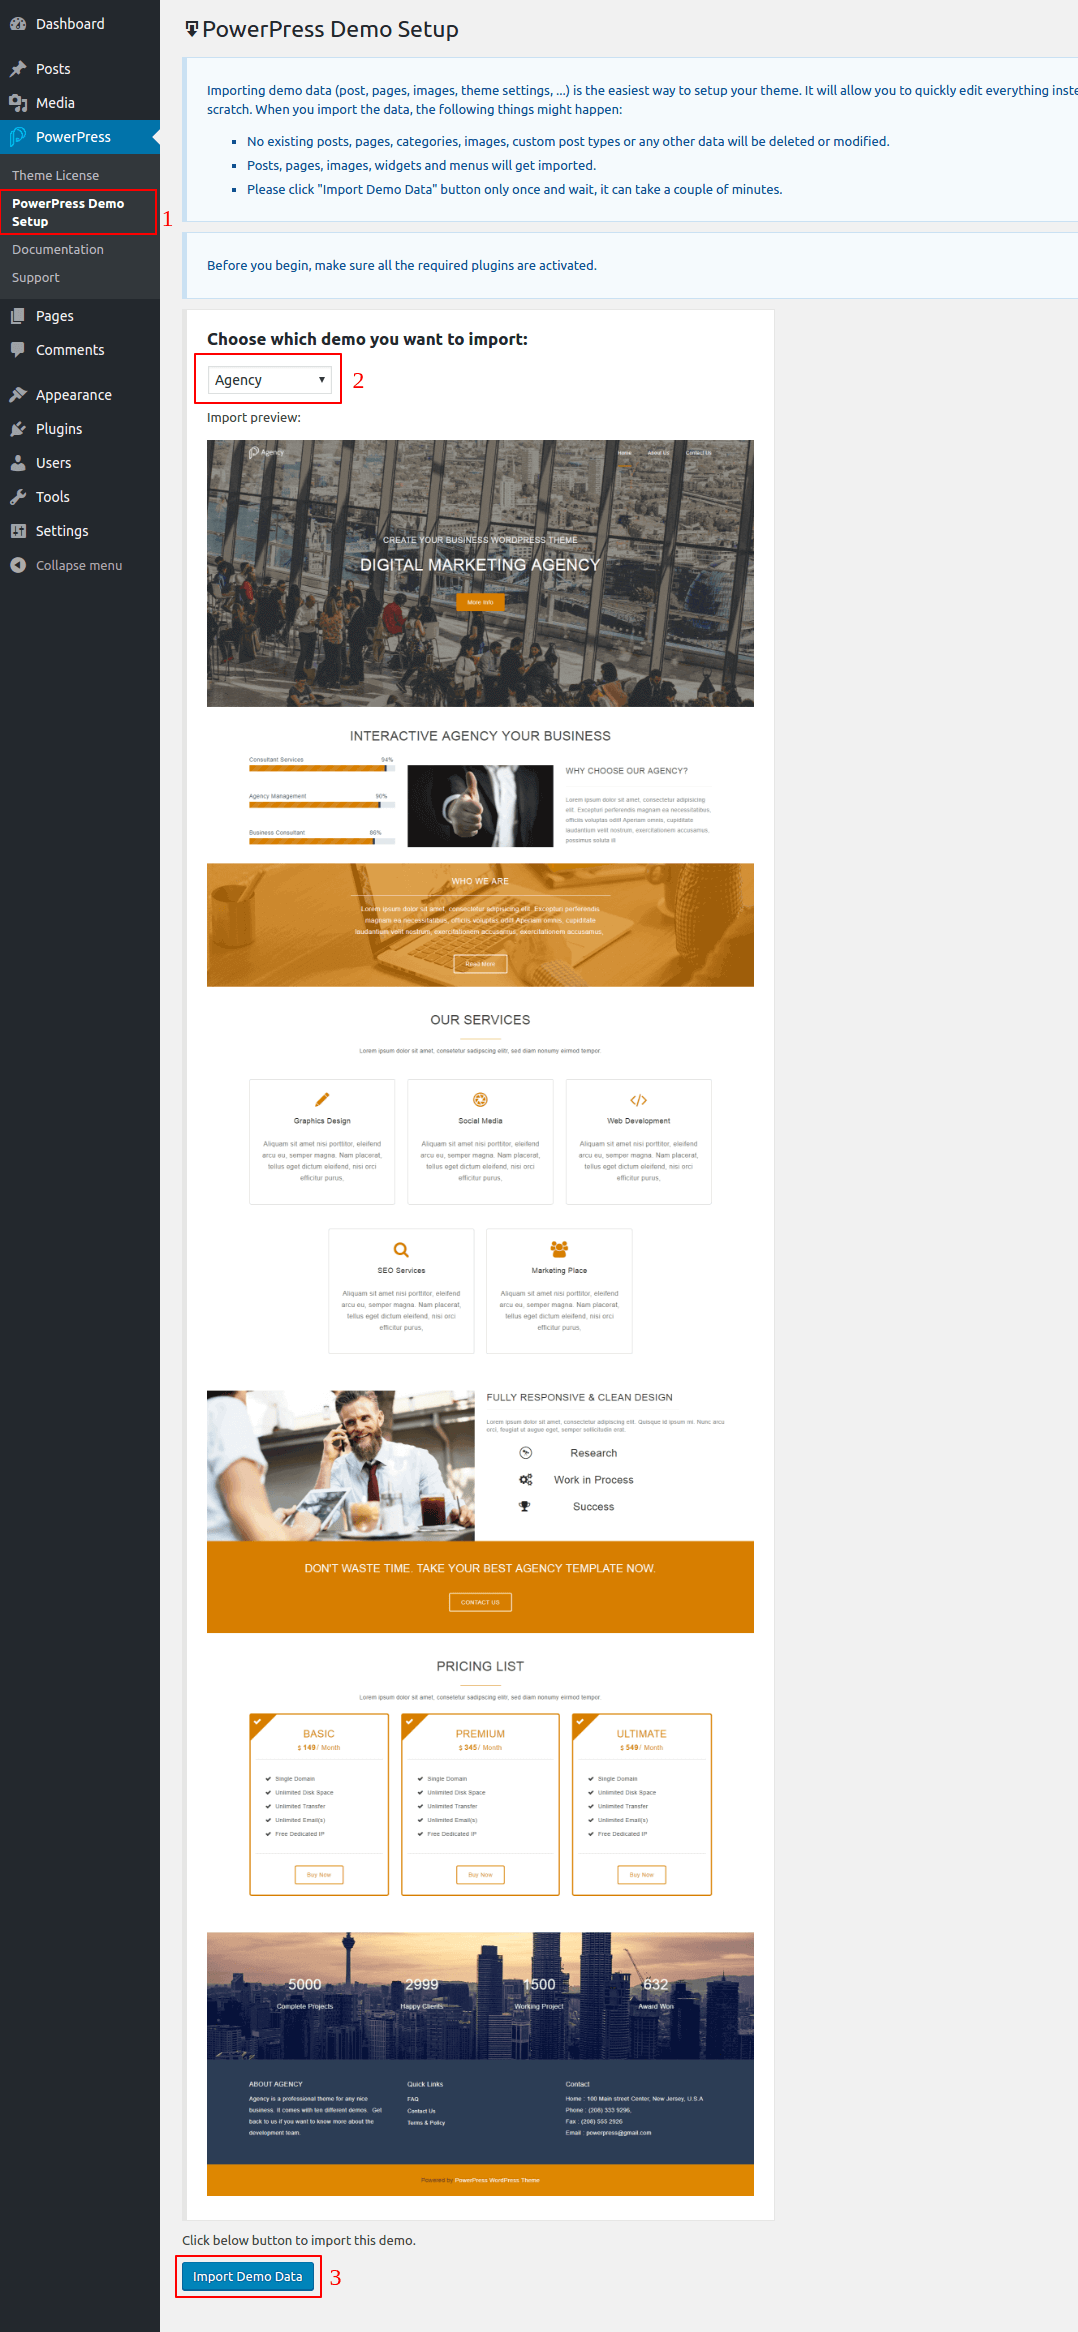
Step 1 - Go to PowerPress > Demo Setup.
Step 2 - First you can select the demo from dropdown list you want to import, then click on the Import Demo Data button.
Step 3 - Done! Menu and Home Page will be set automatically.
Page Options
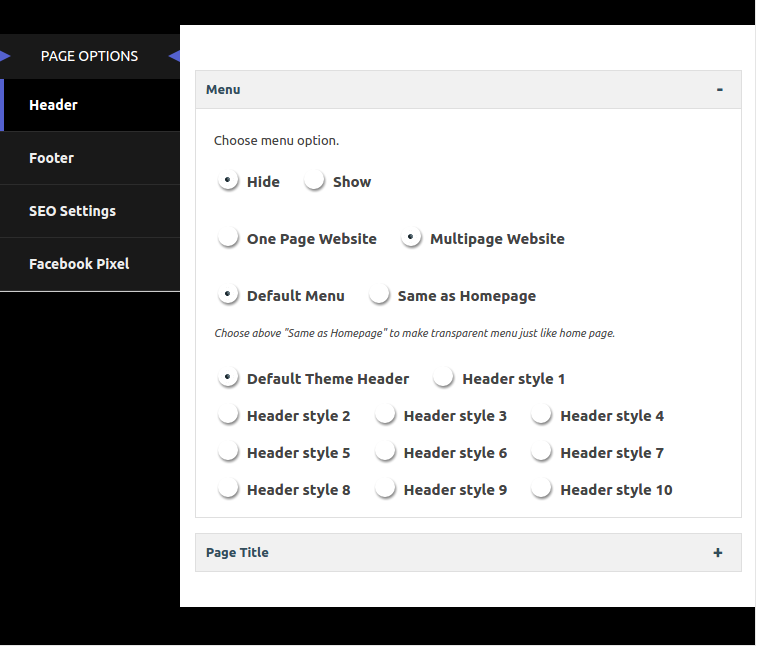
Go to Pages > Add New or Edit any page scroll down the page and at the bottom you'll find below options.
Here you can choose whether to show or hide your header menu, choose option of one page or multipage website, choose menu option to default or same as home page and also you can change the header style. Also you can show or hide the page title area and change the title background image.
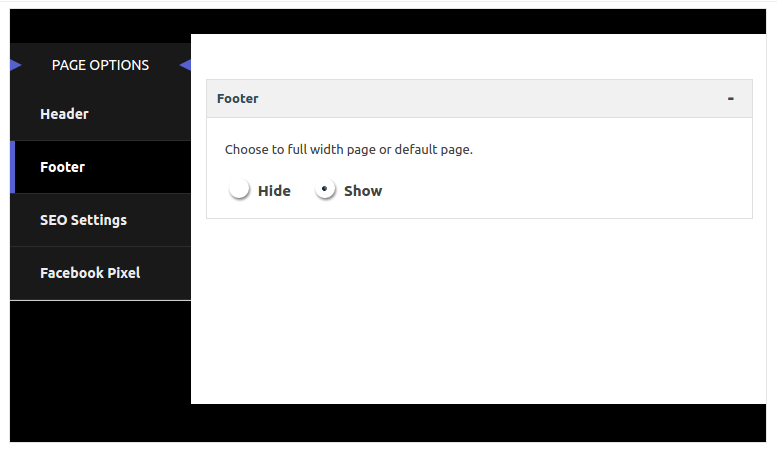
2. Footer
Here you can choose whether to show or hide your footer.
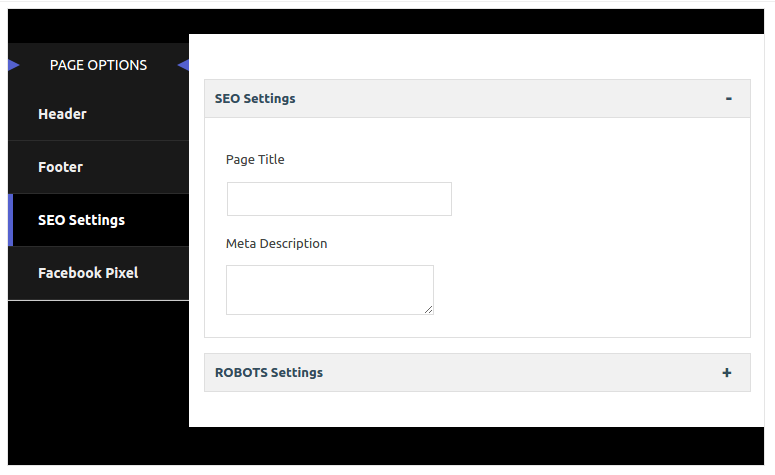
3. SEO Settings
Here you can assign page title and meta description and also manage the robots setting.
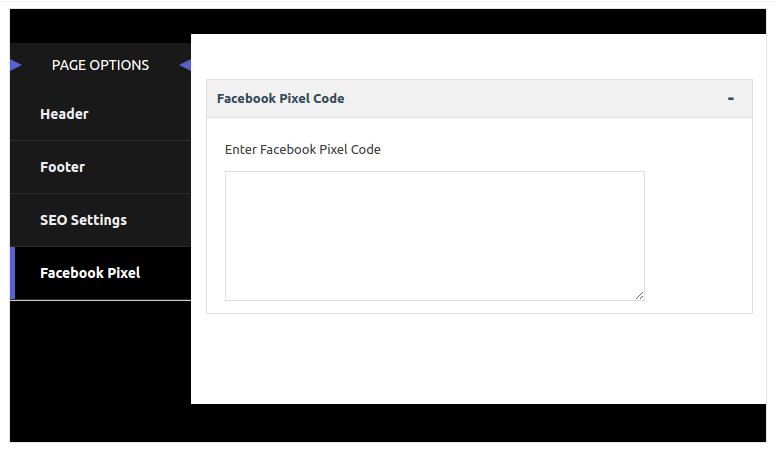
4. Facebook Pixel
Here you can add your facebook pixel code for your website.
PowerPress Layouts
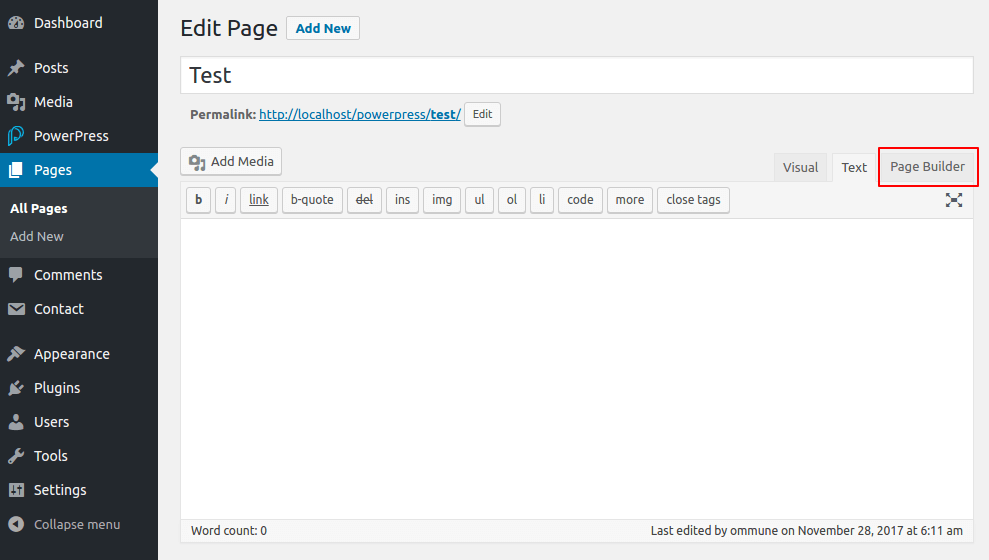
Go to Pages > Add New or Edit a page. Click on the Page Builder tab and go to Layouts as shown in below screenshots.

Make sure the theme License is activated otherwise, you will not see PowerPress Layouts tab under layouts. Select any page template and click on the Insert button, which you see on the right bottom side.
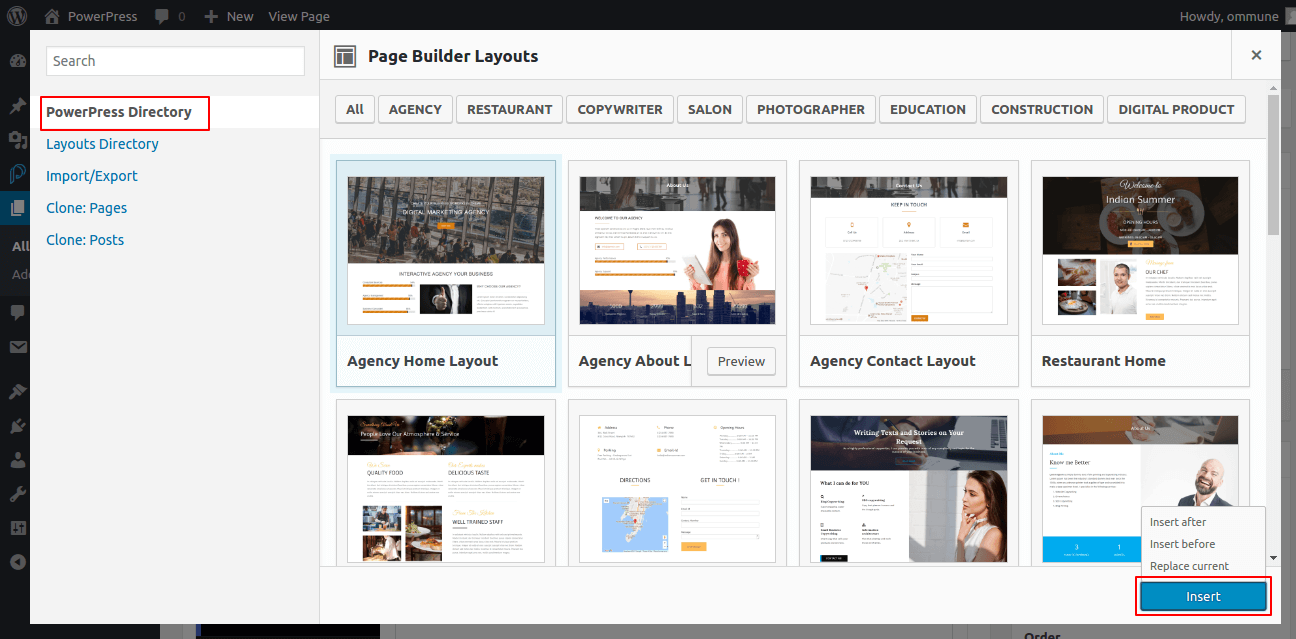
After that select Replace Current option followed by clicking on Are you sure? option.
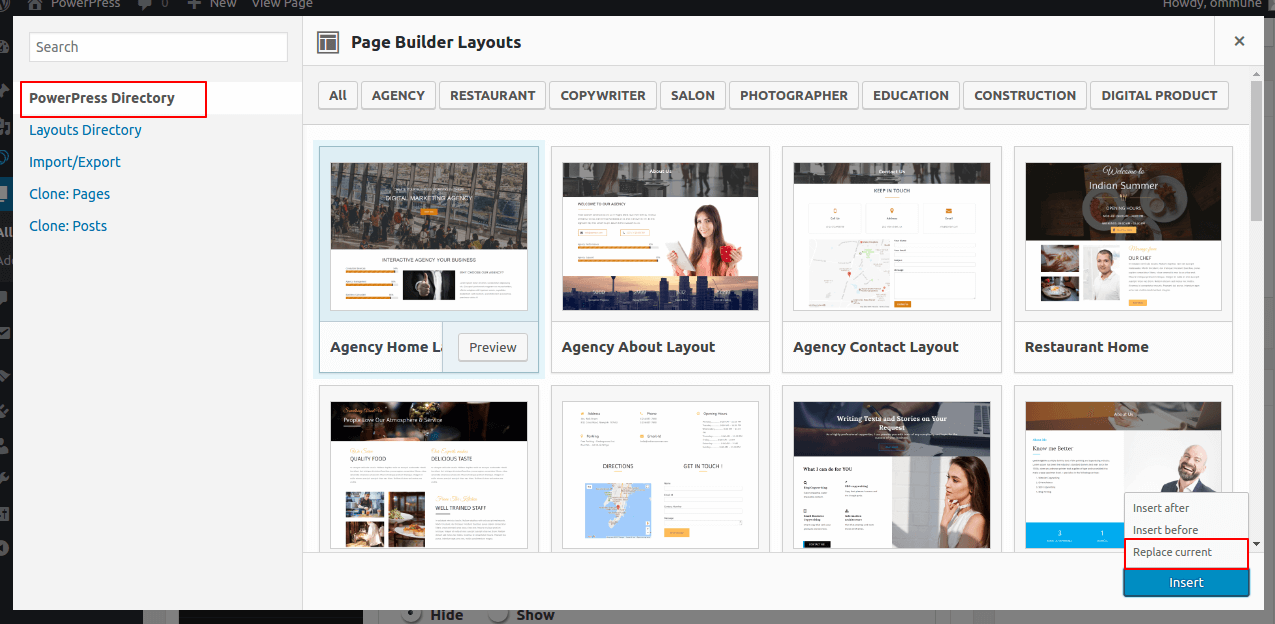
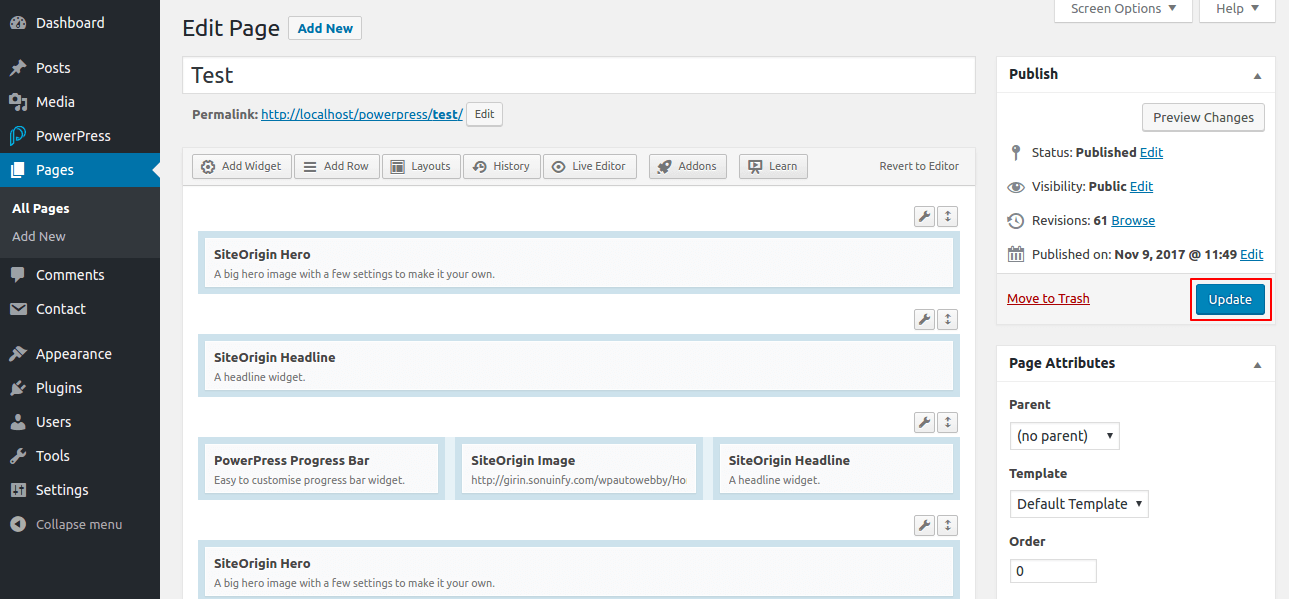
Once selected, the page content will be loaded in the content area. After this click on Publish button to publish the page.
If you're not familiar with SiteOrigin page builder then It's HIGHLY RECOMMENDED to check the SiteOrigin page builder documentation to see how pages can be edited, new elements/widgets can be added etc. Click here to check the documentation of SiteOrigin page builder.
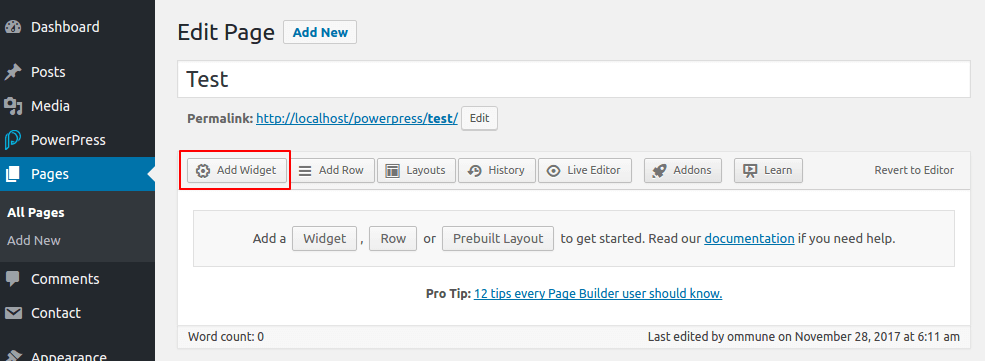
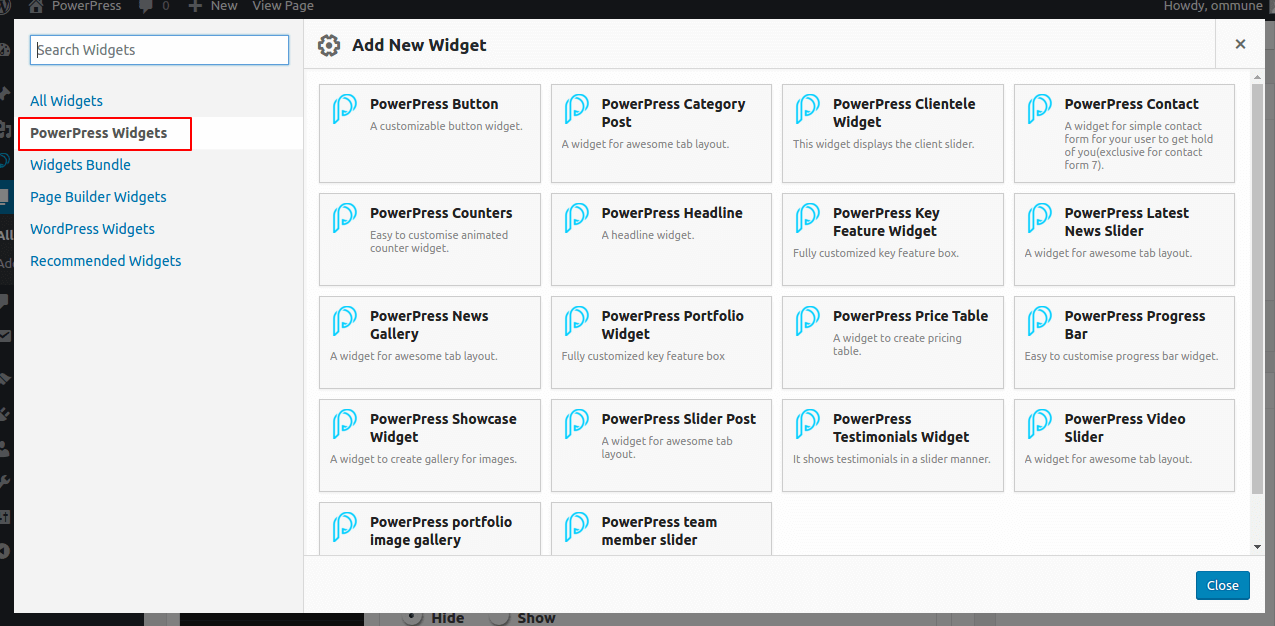
Page Builder Widgets
Go to Pages > Add New or Edit a page. Click on the Page Builder tab and go to Add Widget as shown in below screenshots.
Before using the widget make sure you check the features it offers in below description.
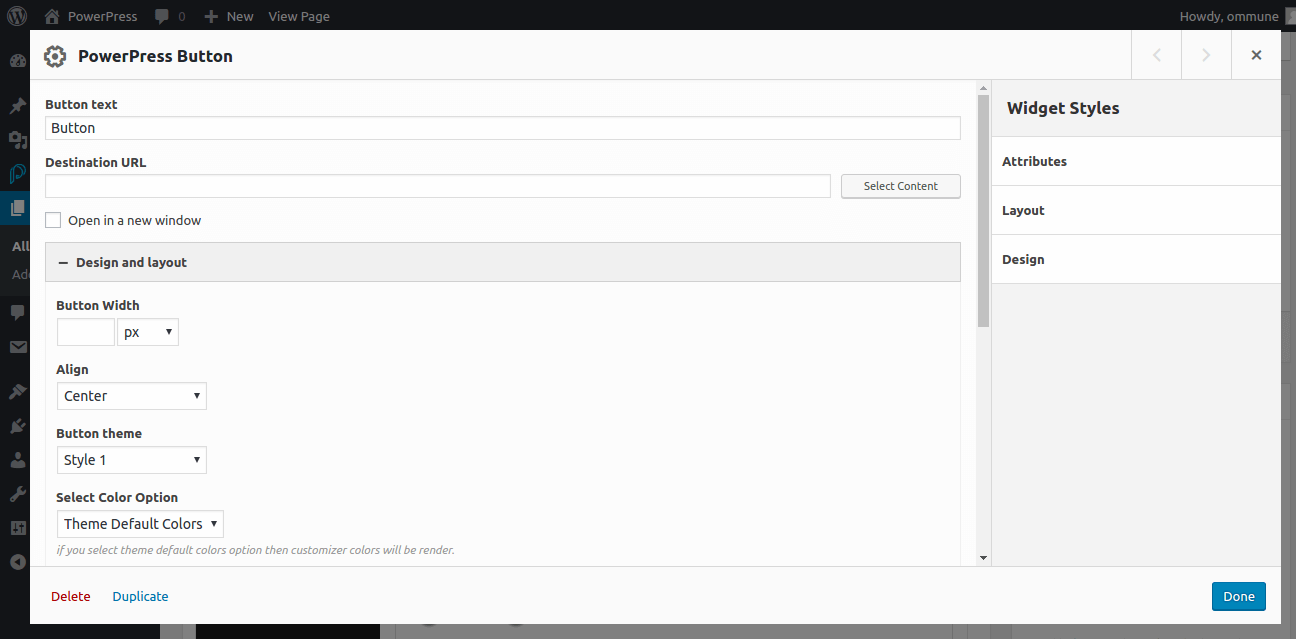
1. PowerPress Button Widget
Here you can Add button text and assign a URL along with the designing changes that you may want to make.
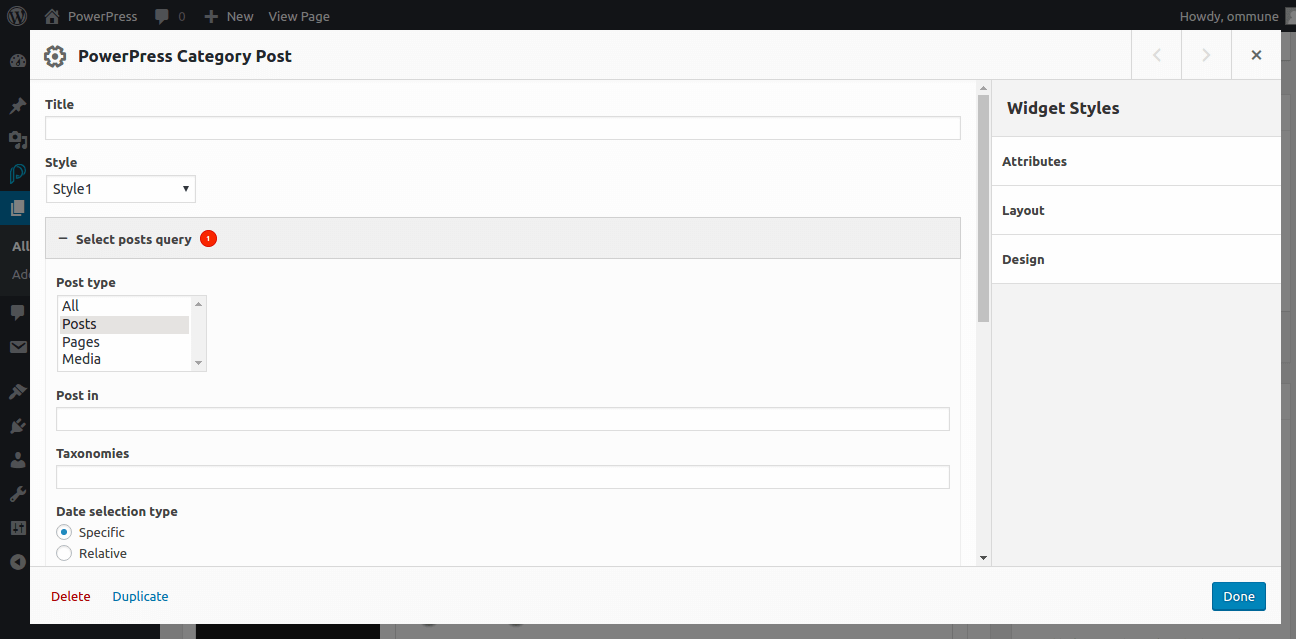
2. PowerPress Category Post Widget
Using this widget, you can display your posts in categorised order. Also, you can change it's style.
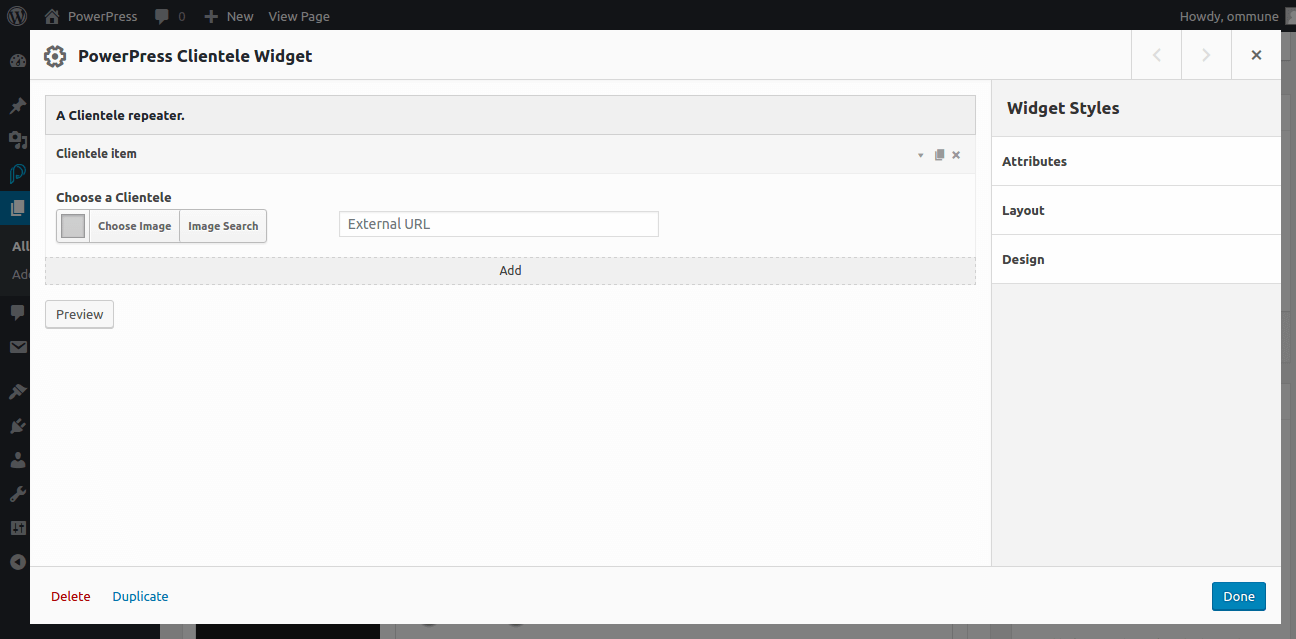
3. PowerPress Clientele Widget
Here you can choose the client image or assign the external URL to display the clients images in a slider.
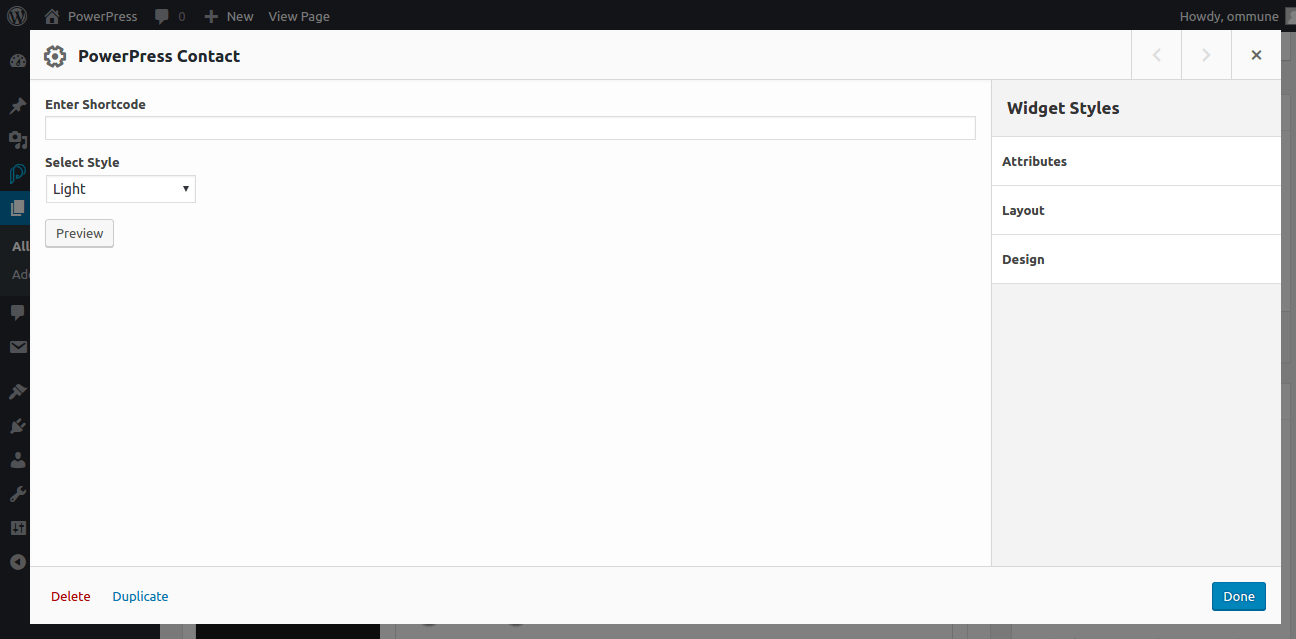
4. PowerPress Contact Form Widget
Using a shortcode method you can display your contact form and change contact form display style such as, light or dark.
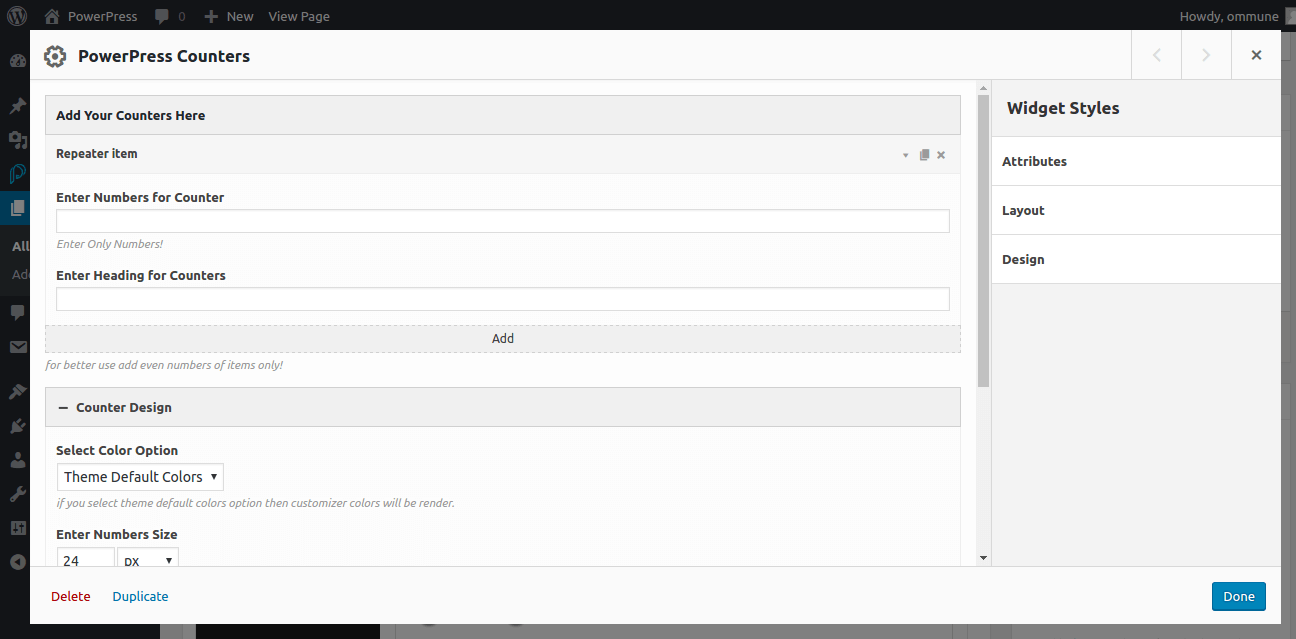
5. PowerPress Counters Widget
Using this widget, you can add multiple counters. Also, you can make the changes in style that you may want.
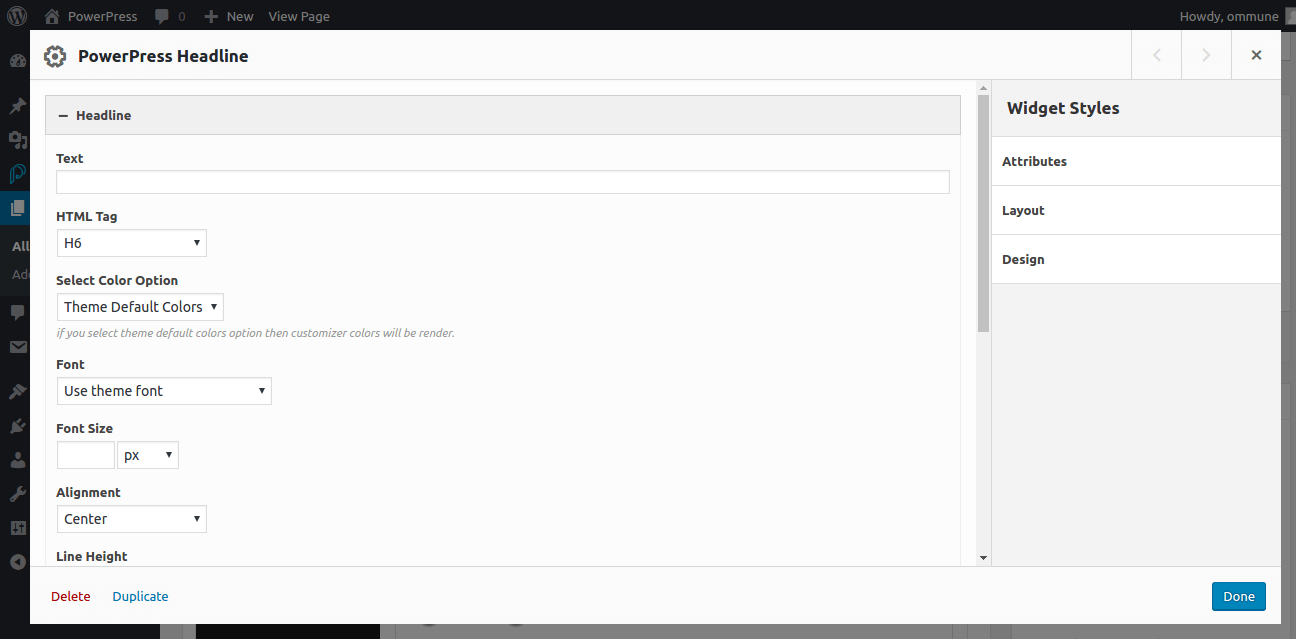
6. PowerPress Headline Widget
Using this widget, you can add headline, subline and divider for content headings.
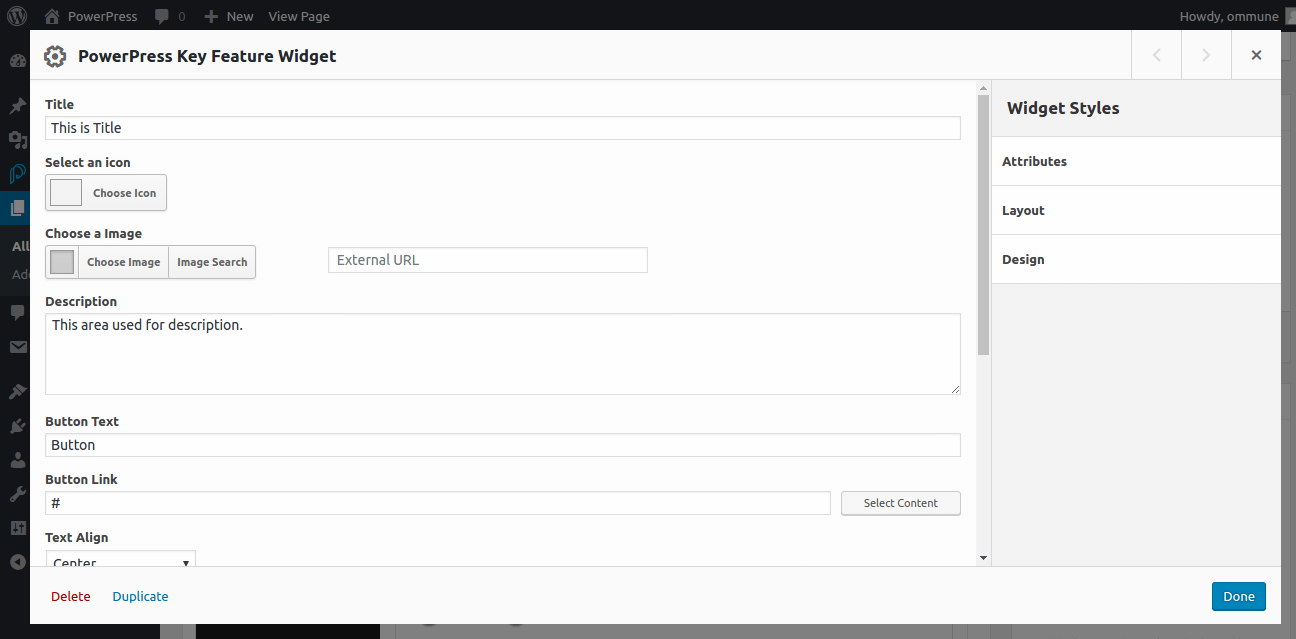
7. PowerPress Key Feature Widget
Using this widget, you can display the key features and customize it's design as per your requirements.
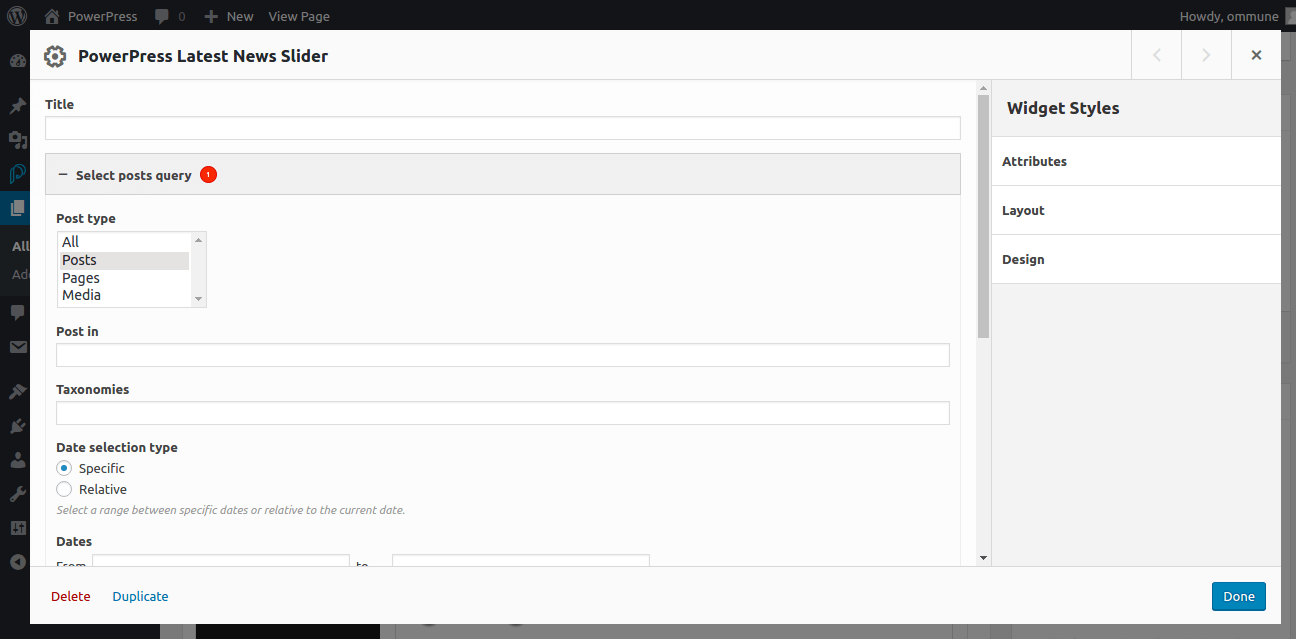
8. PowerPress Latest News Slider Widget
Using this widget, you can display the news in slider using post query method.
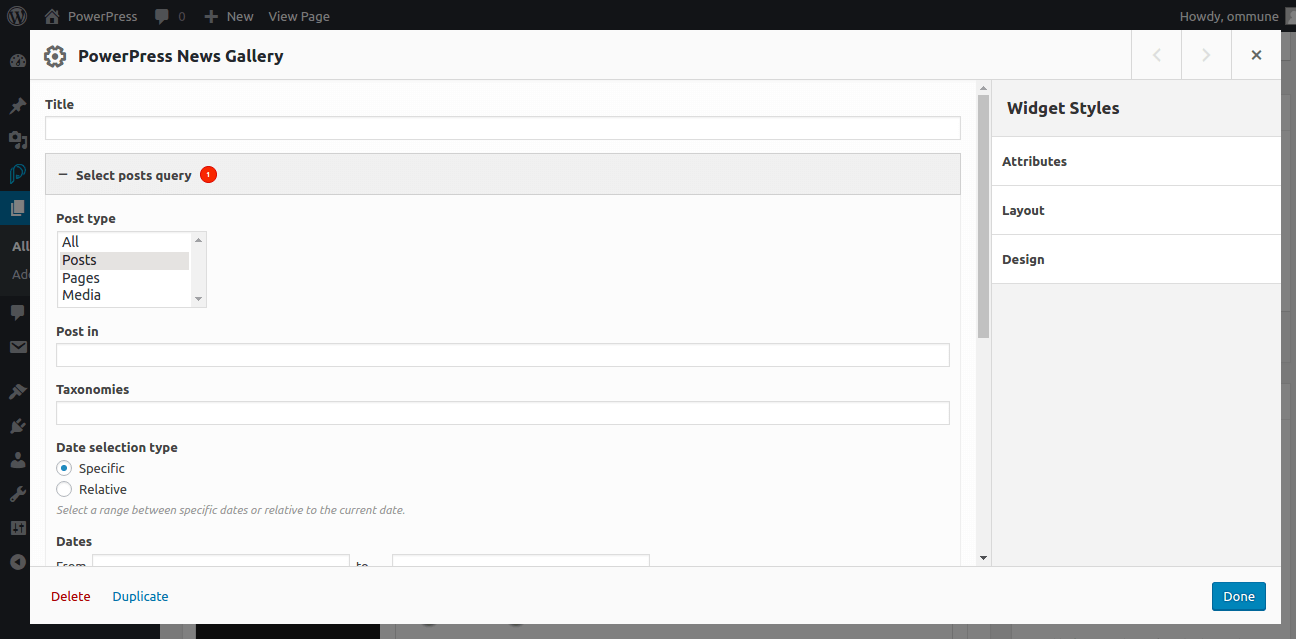
9. PowerPress News Gallery Widget
Using this widget, you can display the news gallery using post query method.
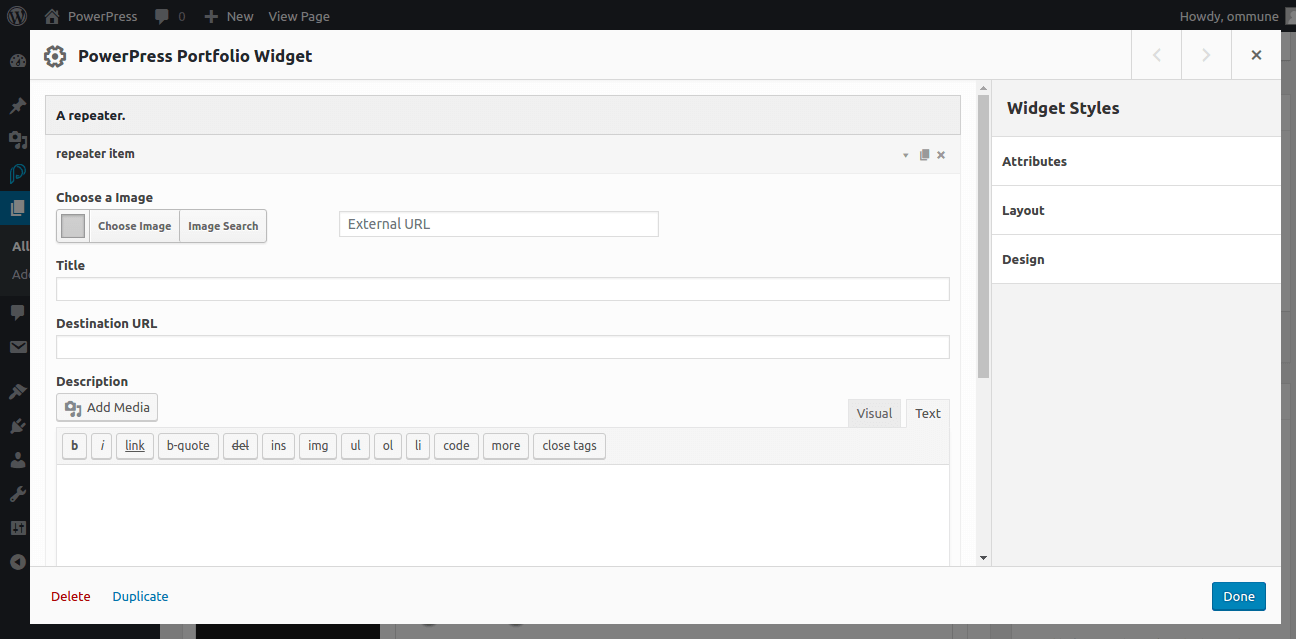
10. PowerPress Portfolio Widget
Using this widget you can display the portfolio image from media files or using the external URL method. Also, you can add the portfolio details and select the number of columns to show.
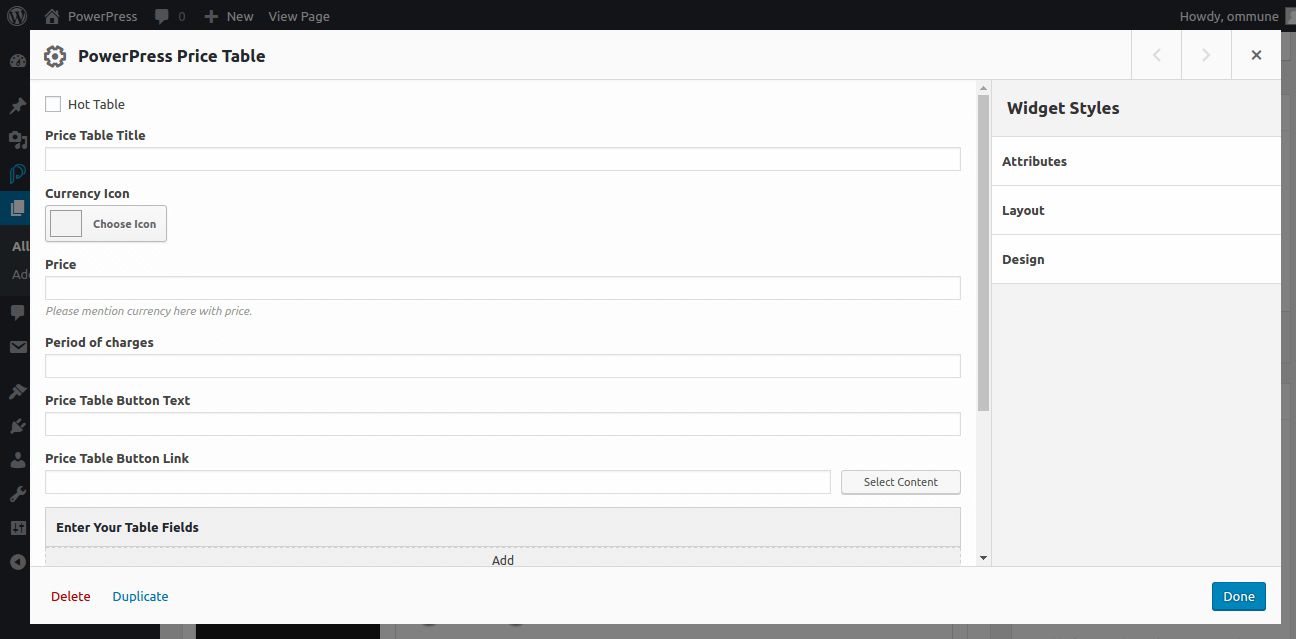
11. PowerPress Price Table Widget
Using this widget, you can display price table and make the changes in styling that you may want.
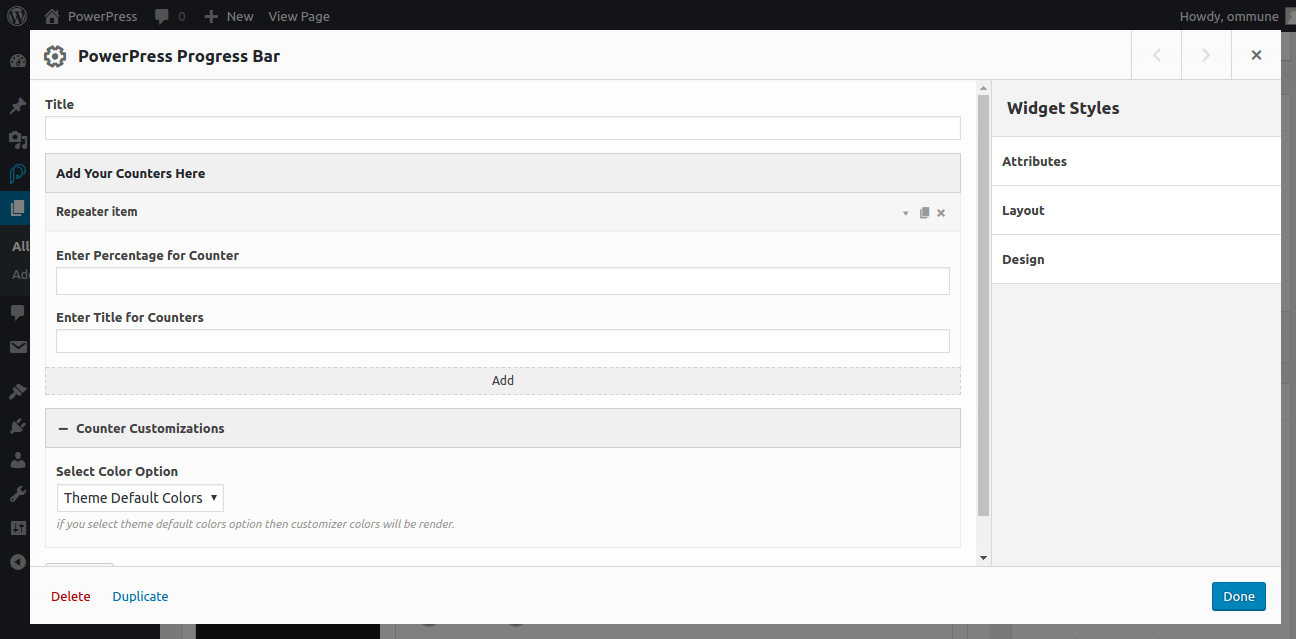
12. PowerPress Progress Bar Widget
Using this widget, you can display progress bars and make the changes in design that you may want.
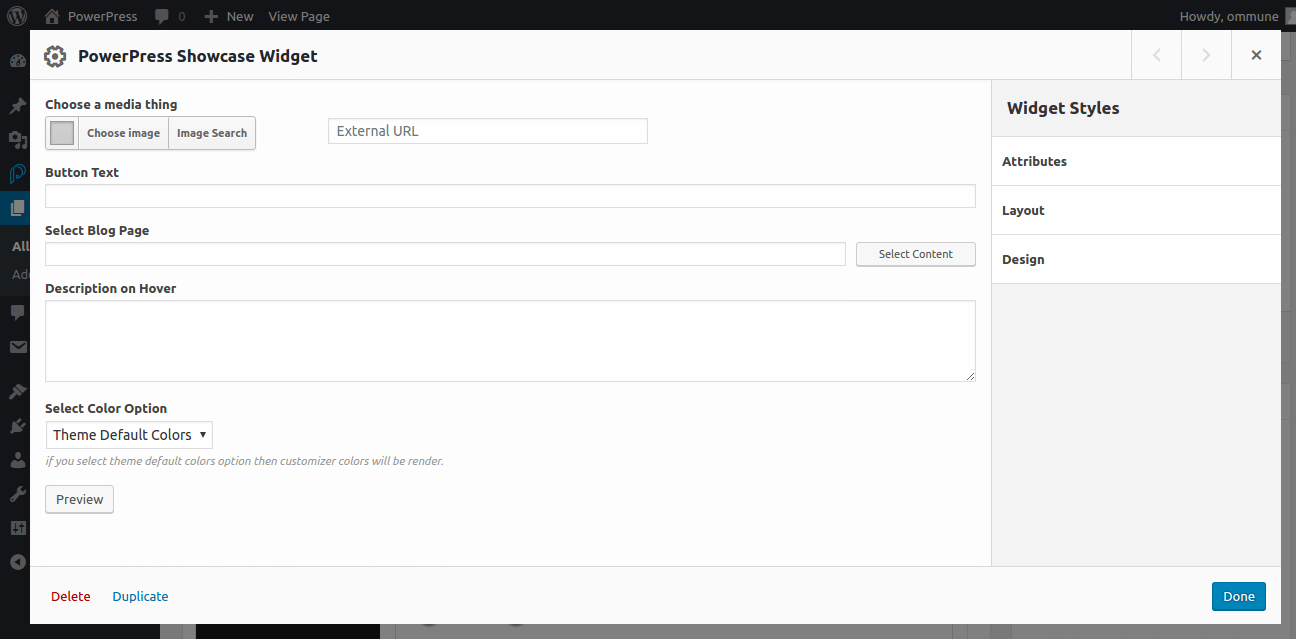
13. PowerPress Showcase Widget
Using this widget, you can showcase images and make changes in design the you may want.
14. PowerPress Slider Post Widget
Using this widget, you can display multiple posts in the slider using post query method.

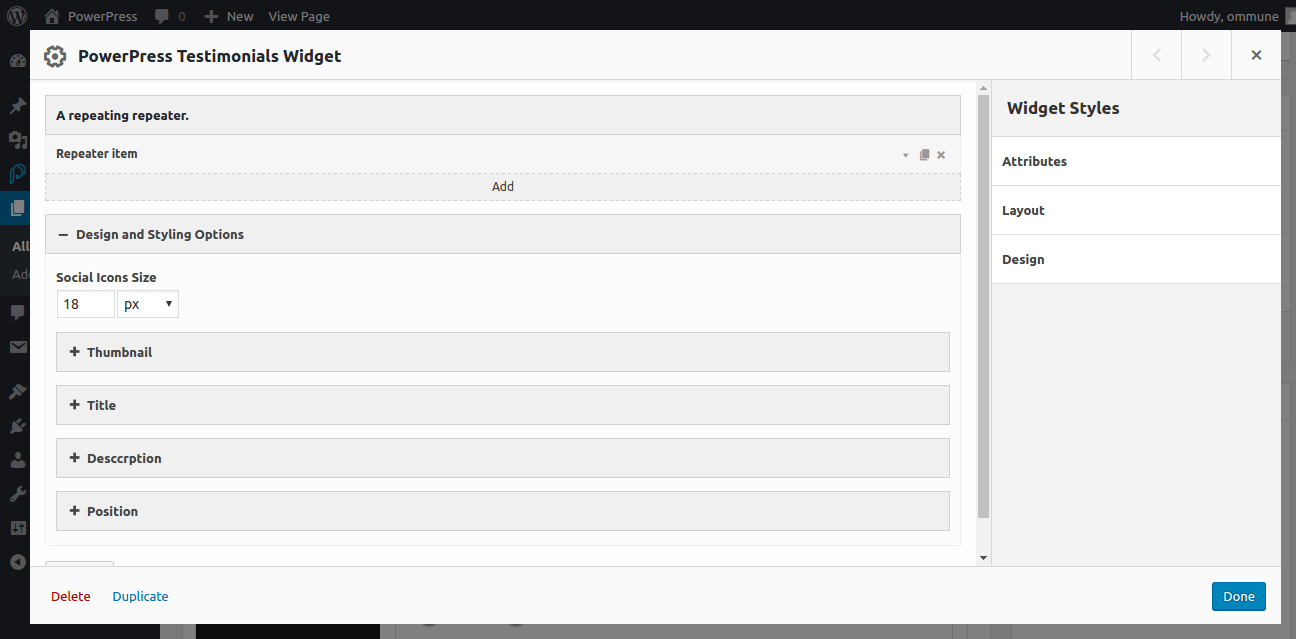
15. PowerPress Testimonials Widget
Here you can add the testimonials details and display it in a slider. Also, you can make the changes in styling that you may want.
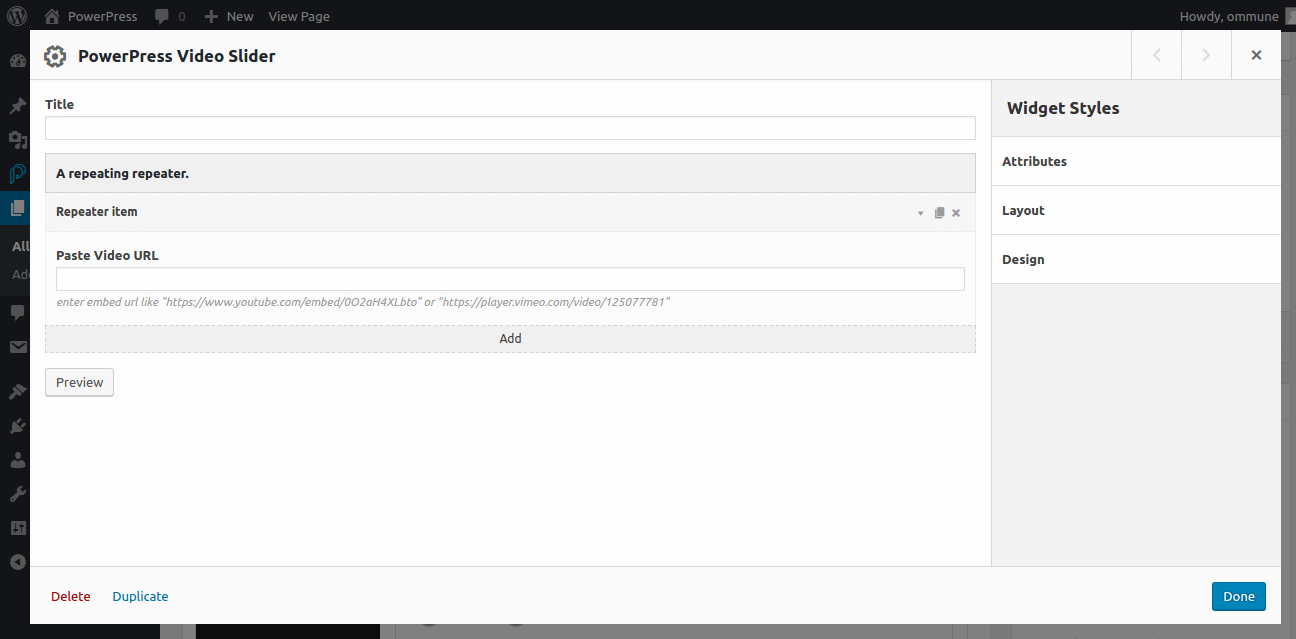
16. PowerPress Video Slider Widget
Here you can add the video URL and display multiple videos in slider.
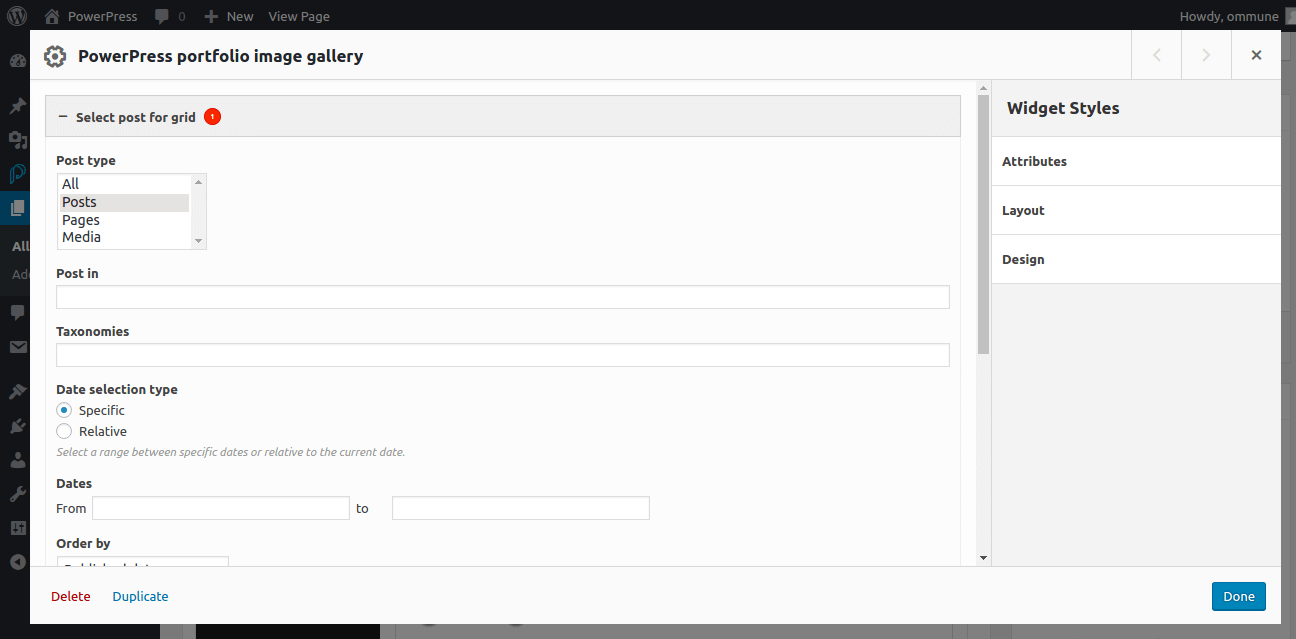
17. PowerPress Portfolio Image Gallery Widget
Using this widget, you can display the portfolio image gallery using post query method.
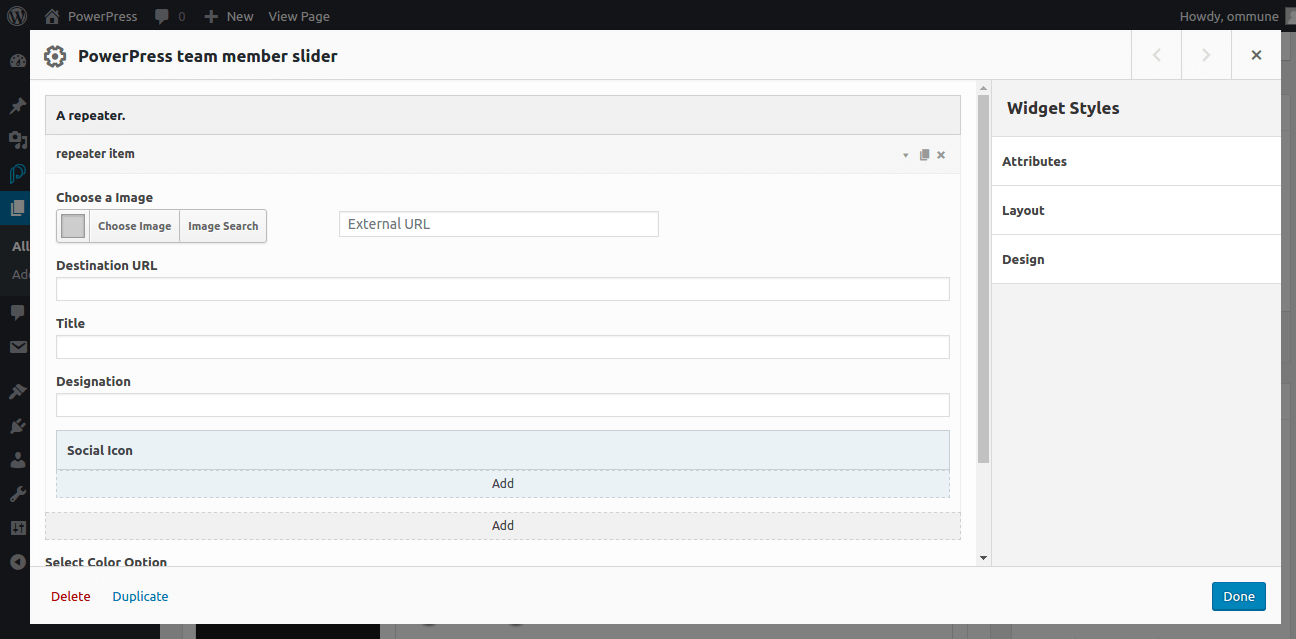
18. PowerPress Team Members Slider Widget
Using this widget, you can display team members profile in the slider. Also, you can make the changes in it's design that you may want.
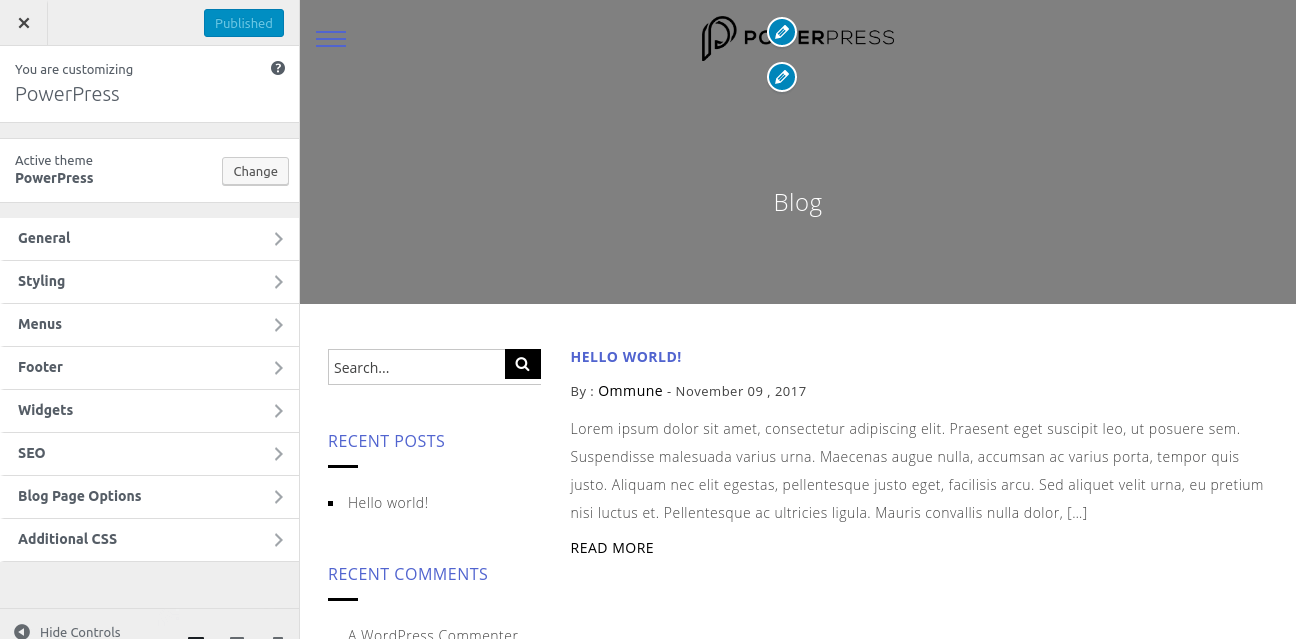
Customizer Options
Go to Appearance > Customize and you'll find below options where, you can make the changes as per your requirements.
1. General
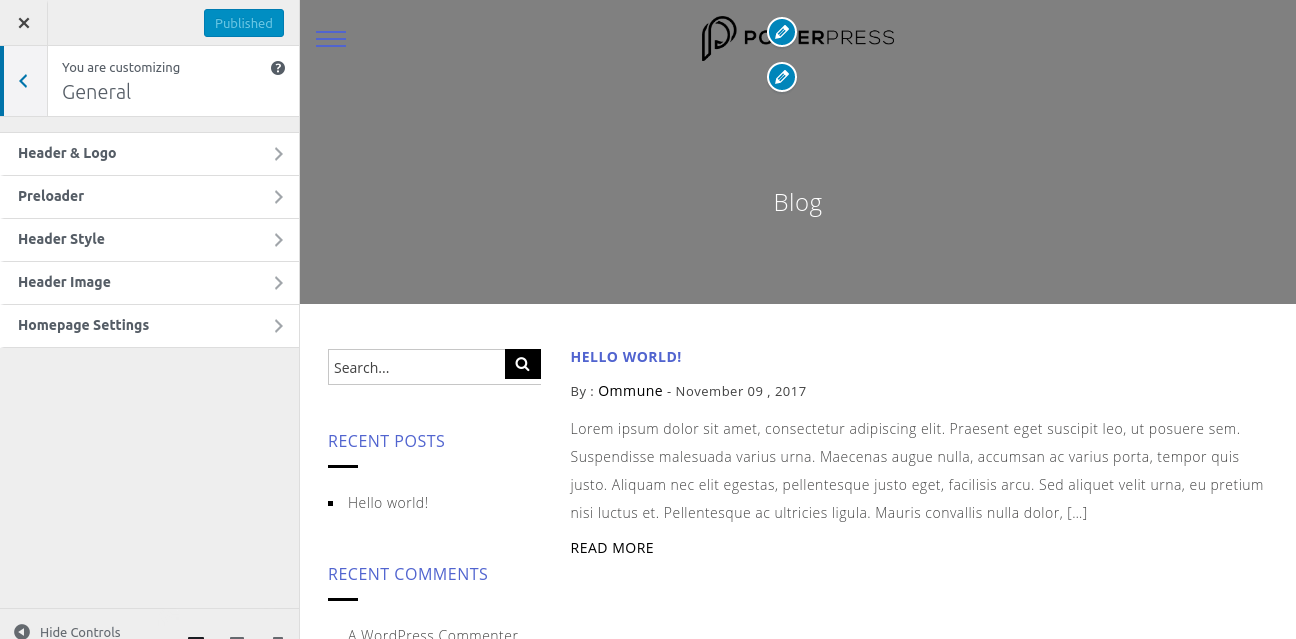
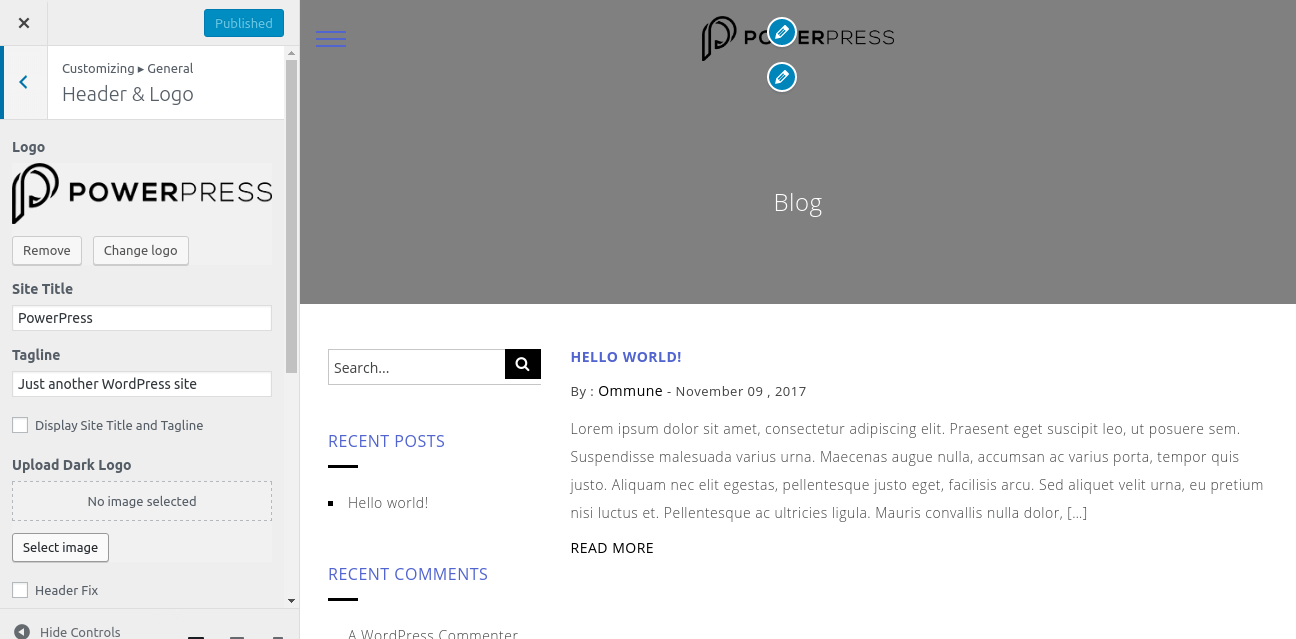
- Header & Logo
Here you can assign a normal logo and dark logo to your website. Along with site icon and also add or remove site title and tagline. Also you can change the logo size that you may want and enable or disable the fixed header.
- Preloader
Here you can enable or disable preloader and also upload the custom preloader.

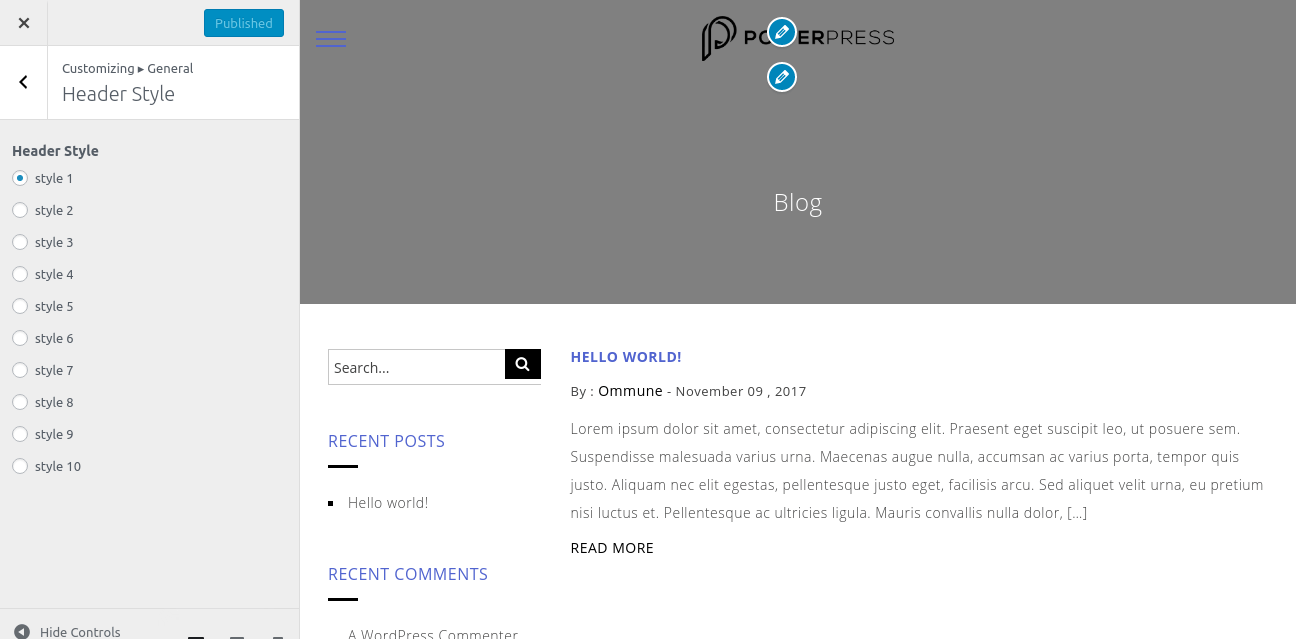
- Header Style
Here you can choose header style that you may want to display.
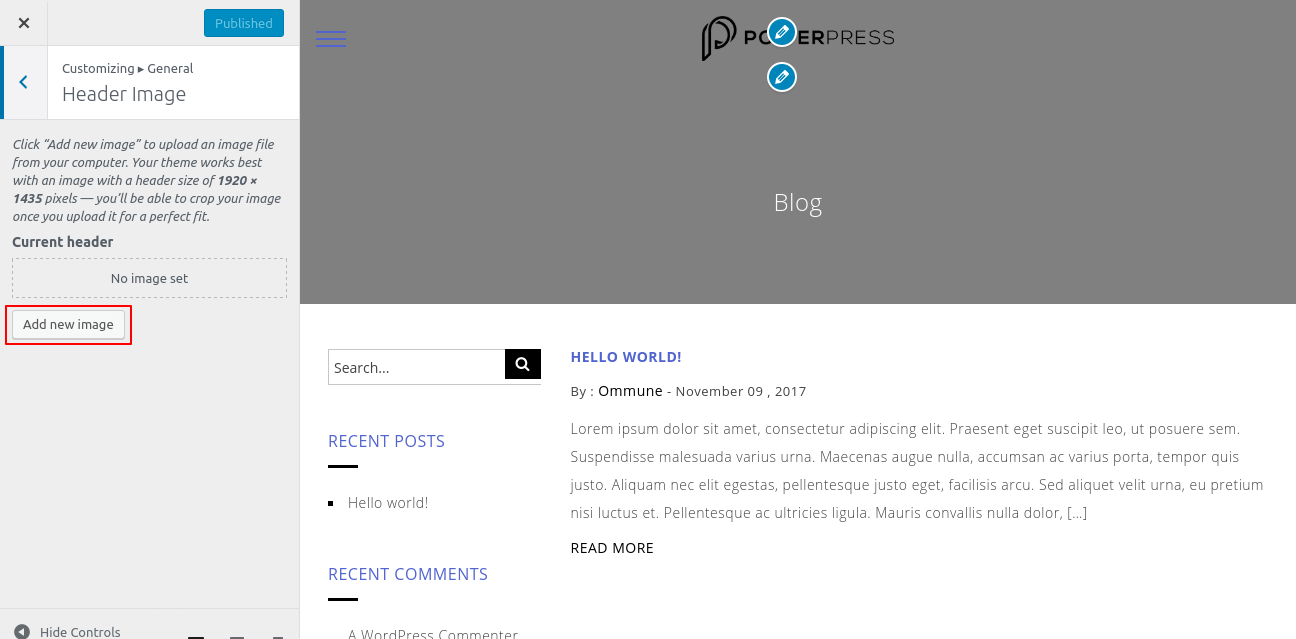
- Header Image
Here you can choose header image that you may want to display.
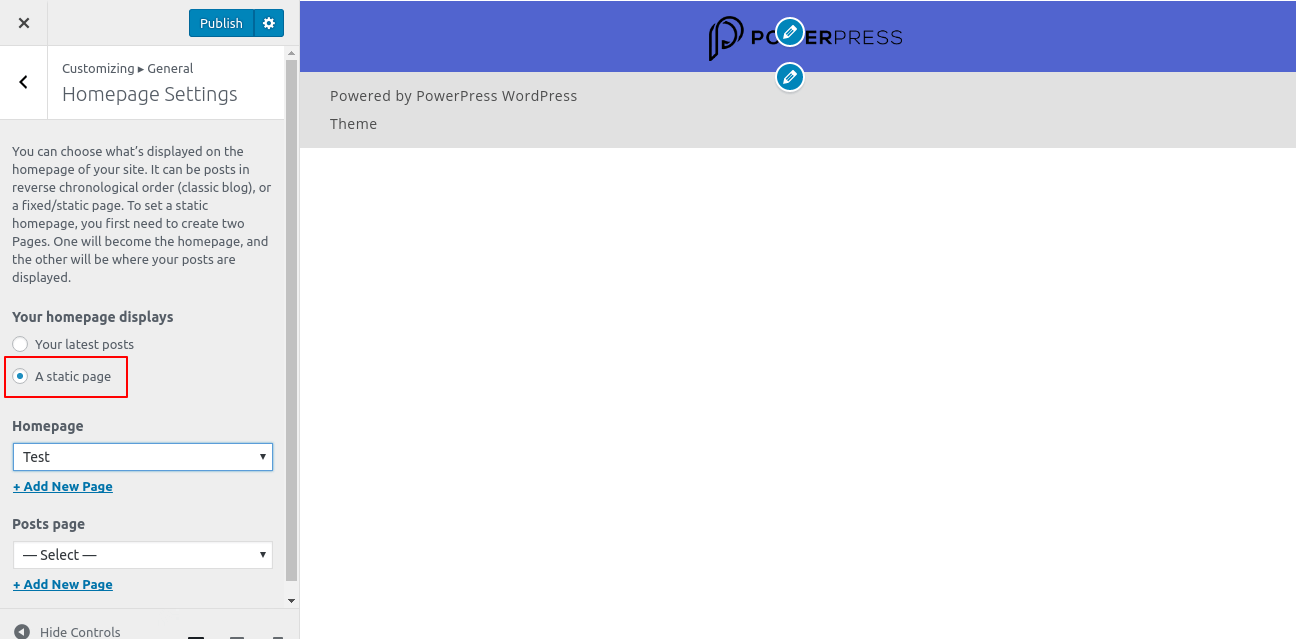
- Home Page Setting
Here you can choose front page as a Home Page and post page for your website.
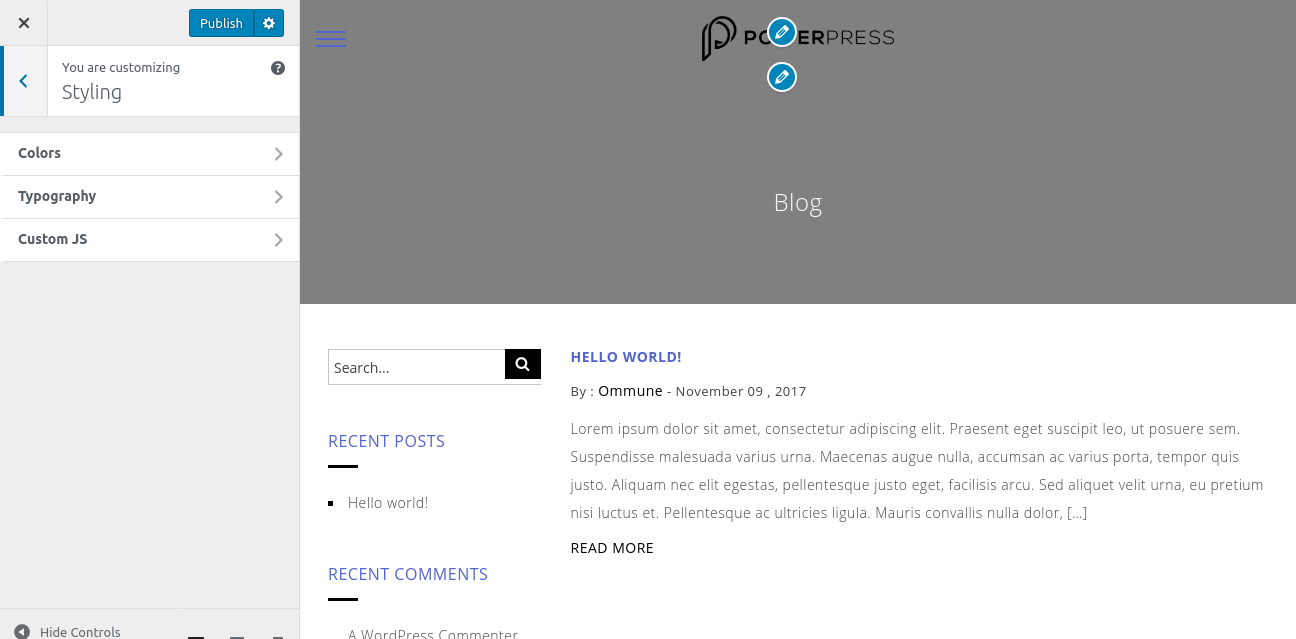
2. Styling
Here you can manage your theme colors and fonts. Also, you can add your custom JS.
3. Footer
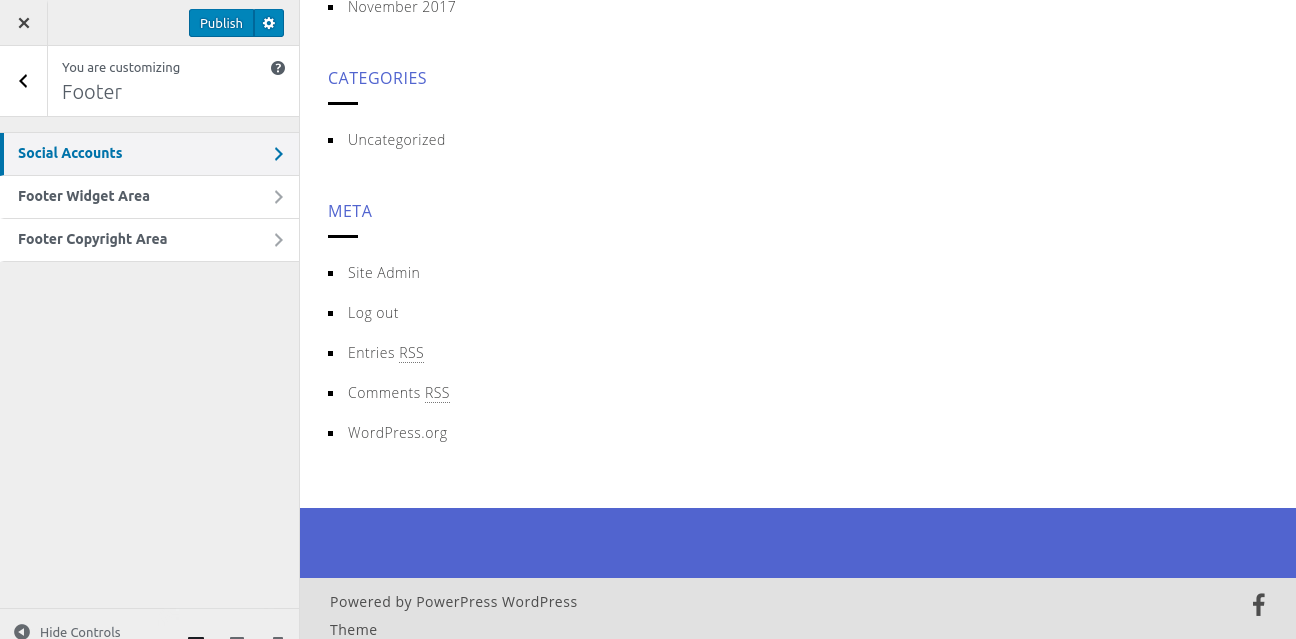
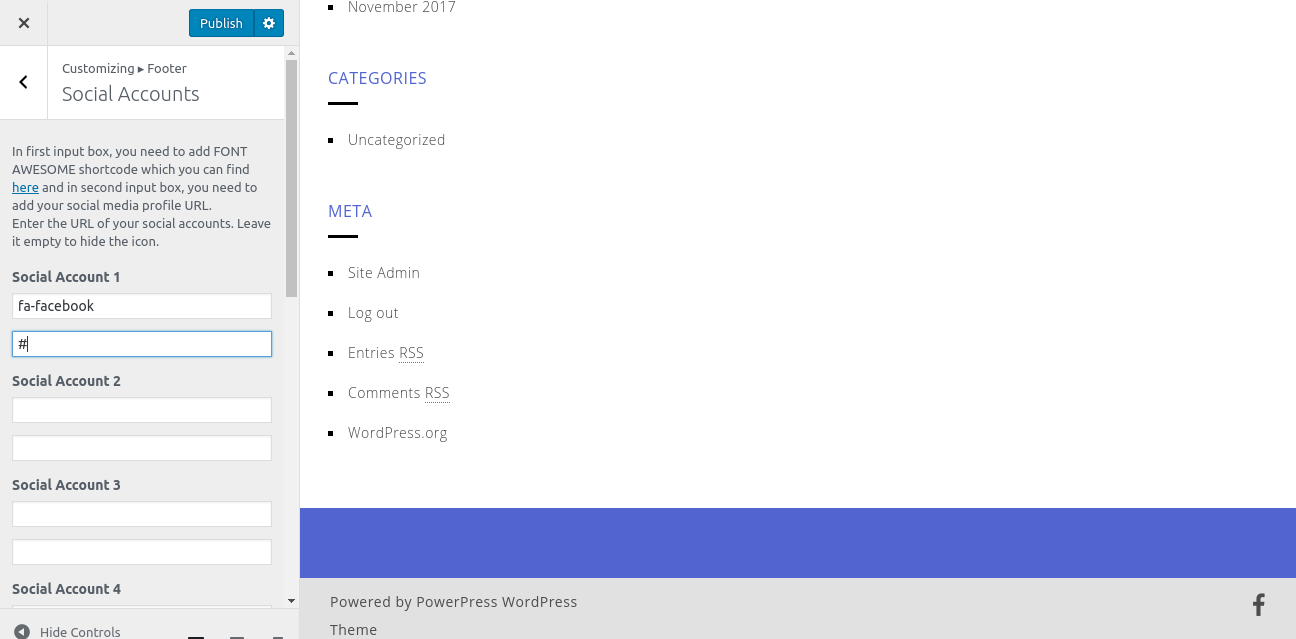
- Social Accounts
Here you can integrate your social accounts.
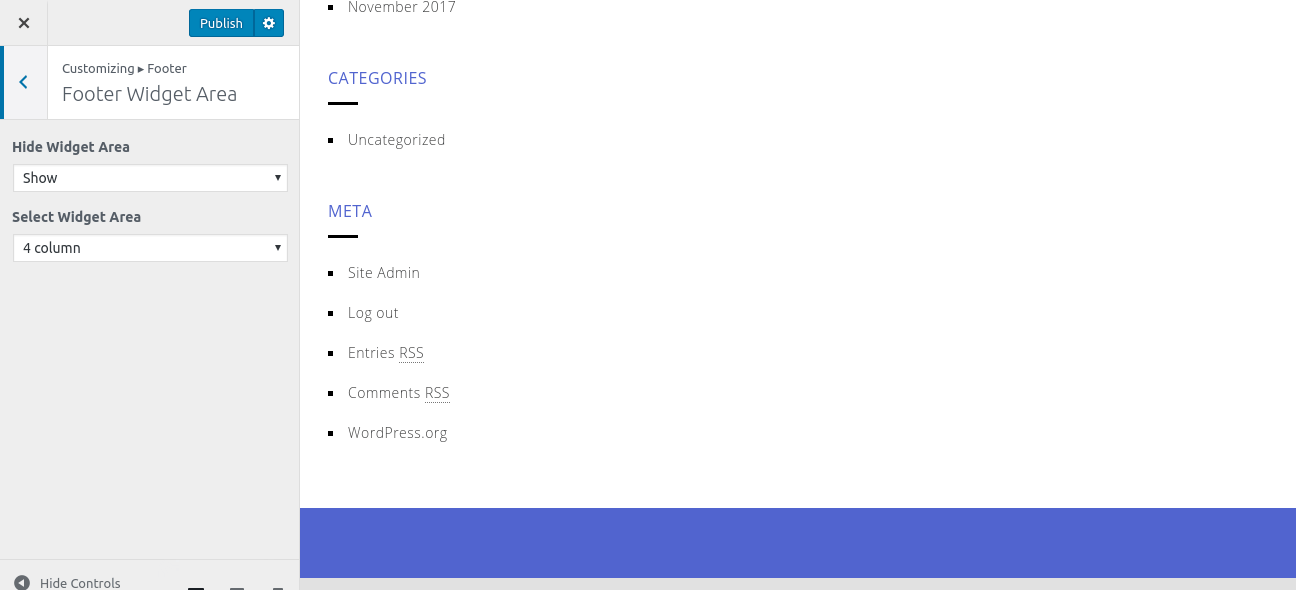
- Footer Widget Area
Here you can choose whether to show or hide your footer widget area along with the number of columns to show.
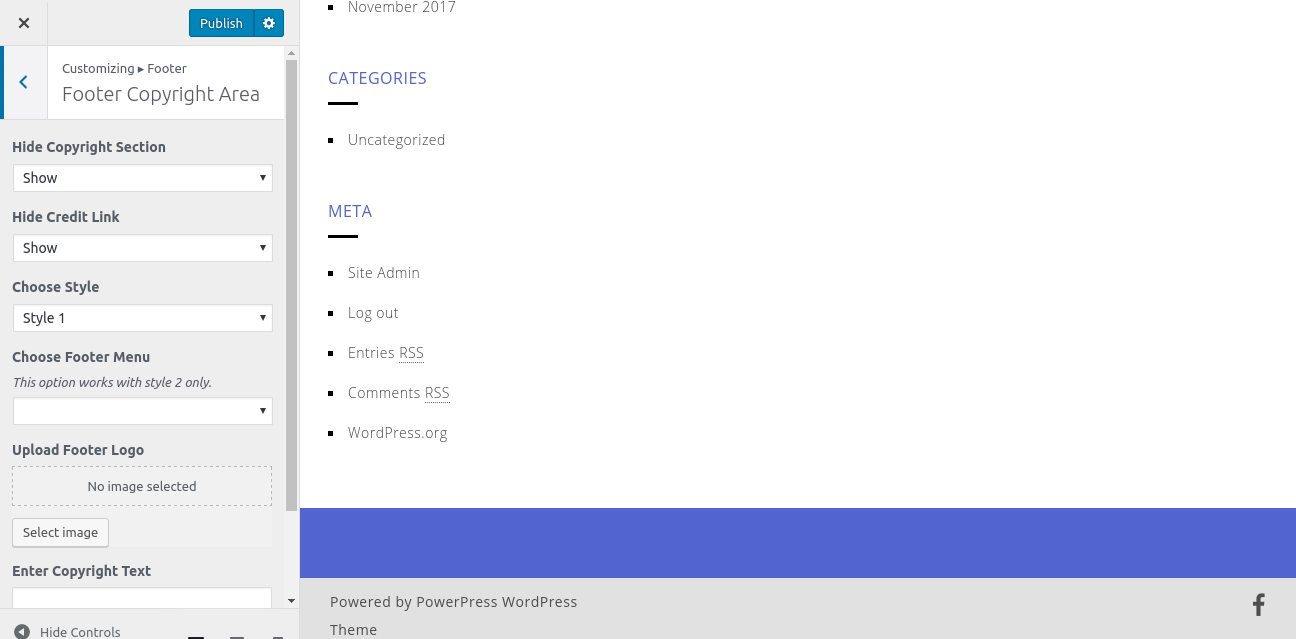
- Footer Copyright Area
Here you can choose whether to show or hide your footer copyright area along with show or hide credit link options. Also, you can change your footer style, select footer menu and upload your footer logo and add your copyright text from here.
4. SEO Settings
In this section. you can add your Facebook pixel code and Google analytics code for search engine optimization.

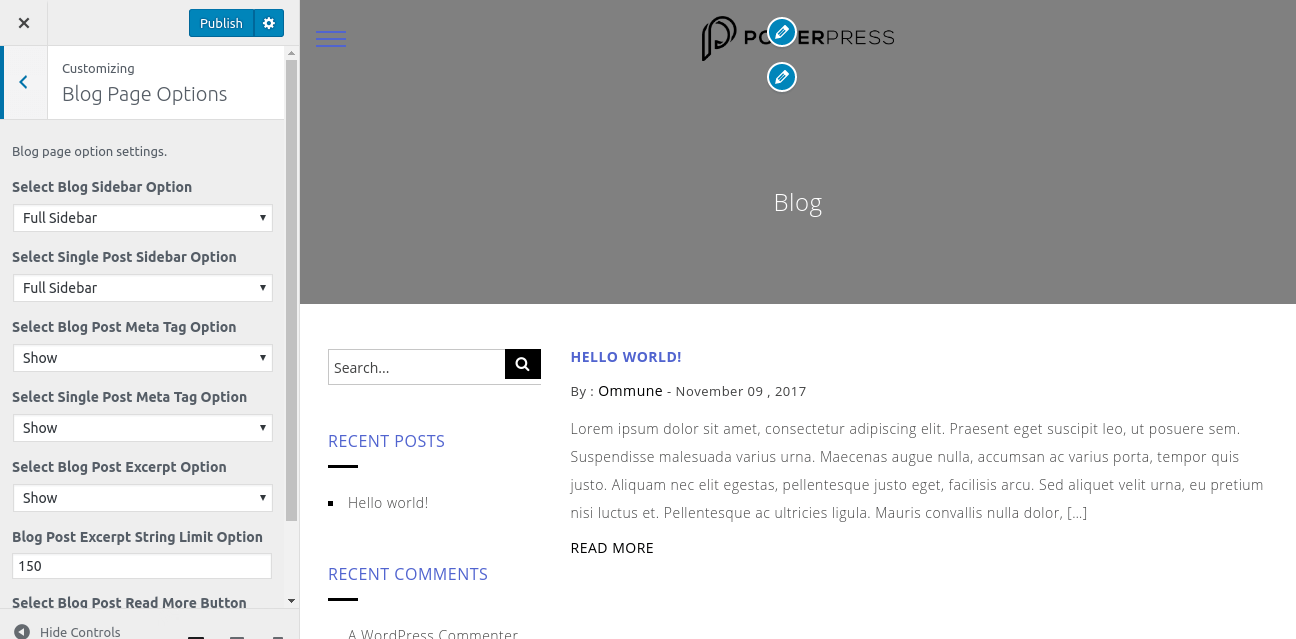
5. Blog Page Options
Here you can manage your blog page settings that you may want.